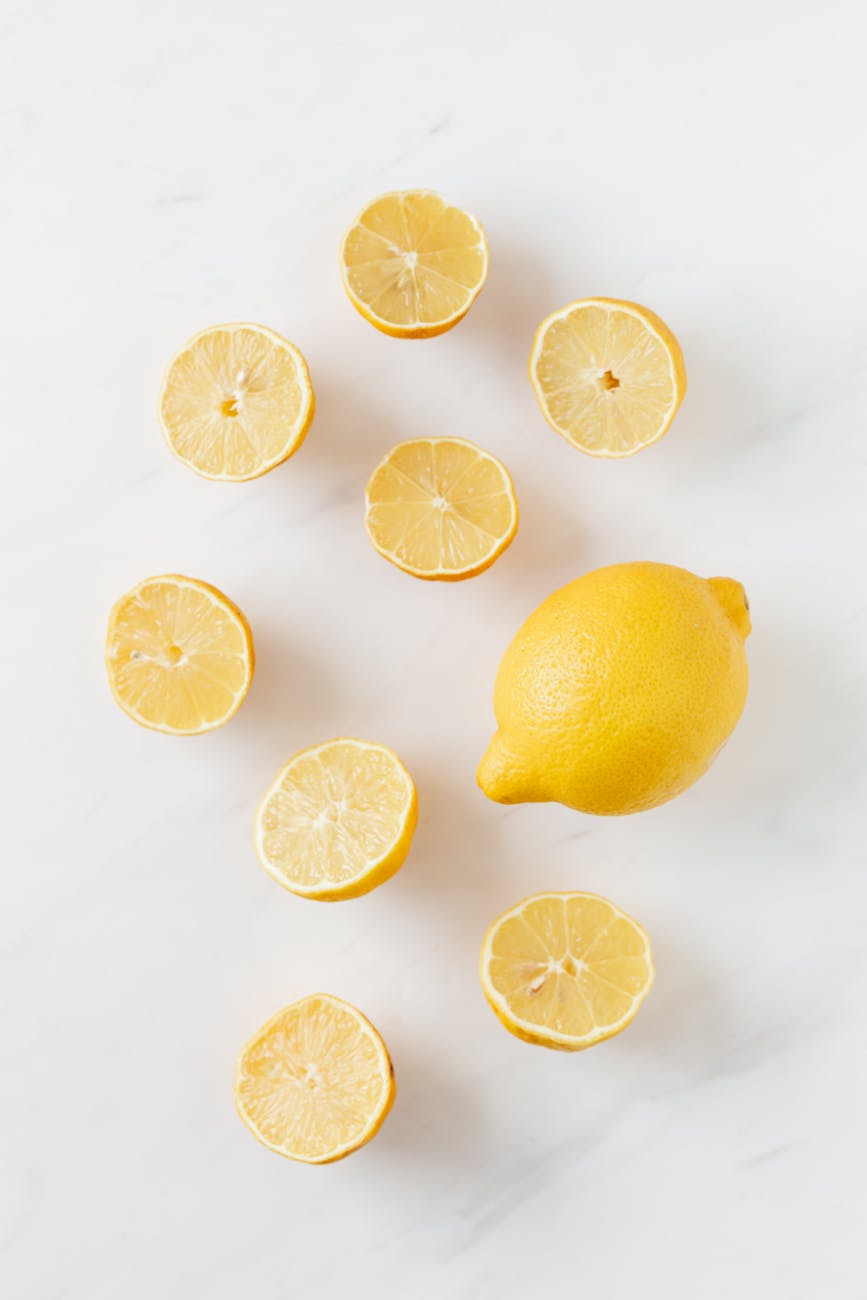
If you’ve been following by blog, you’ll know that I’ve been trying to cut many pre-packaged food and preservatives from our diets. I’m off to a great start with making many staple items from scratch. In part one of this series, I made my own lemon juice and canned it in order to cut out the preservatives that are added to packaged lemon juice. I also mentioned that I wanted to challenge myself to use every part of the lemon with zero waste. In this blog post, I’ll be tackling what to do with all of the lemon rinds that were left over from juicing them.
Read on to see how I turned juiced lemon rinds into candied lemon peels and stay tuned for upcoming posts for how I used the remainder of the lemon parts. Don’t forget to like this post and subscribe to be notified of future posts!
Some of the links on this website are affiliate links, which means I may earn a small commission if you make a purchase through them at no additional cost to you. As an Amazon Associate, I earn from qualifying purchases. This helps support the maintenance of this site and allows me to continue providing helpful content. Thank you for your support!
Supplies & Materials Needed
- Organic lemon rinds
- Organic sugar
- Glass cutting board
- Sharp knife
- Stainless mesh strainer
- Ceramic bowl
- Stainless steel pot / saucepan
- Ball quart mason jars
- Canning funnel
- Parchment paper
- Baking sheet
- Tongs
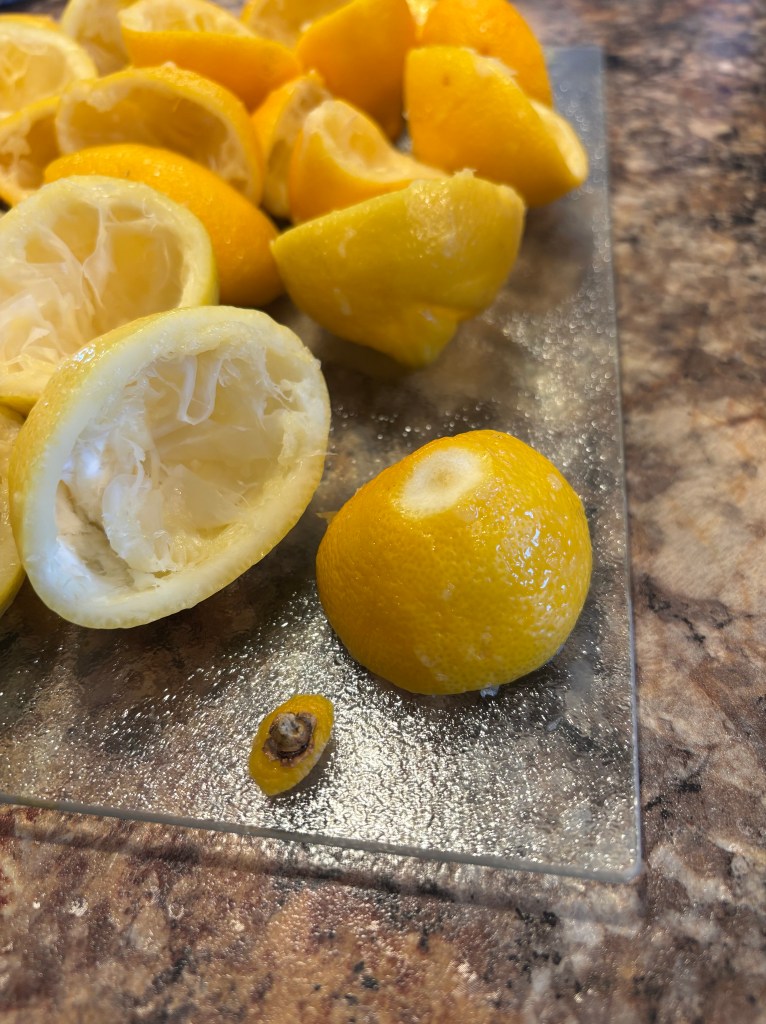
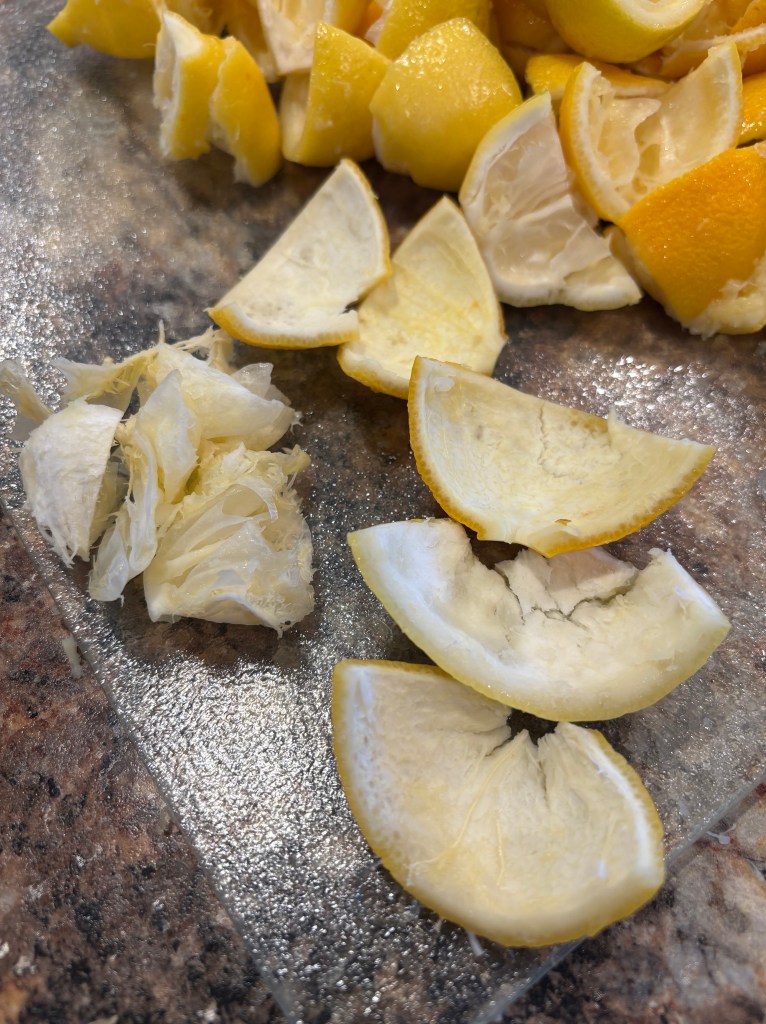
Step #1
Start by removing any stems and remaining pulp and flesh from the inside of the peels. The white flesh is what can cause the candy to be bitter so removing most of it will help with this.
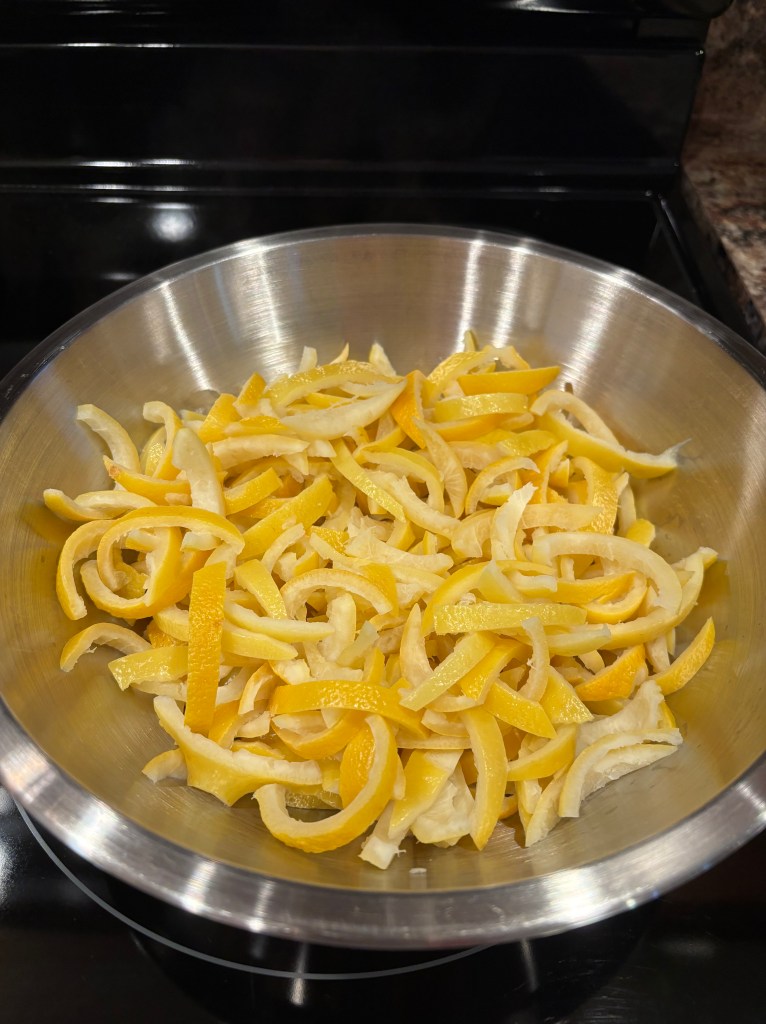
Step #2
On a glass cutting board, slice the lemon rinds into thin strips about 1/4″ thick.
Step #3
Place all of the peels into a large stock pot and cover with water. Bring the water to a boil for about a minute. Drain and repeat this process two more times. This will help decrease the bitterness.

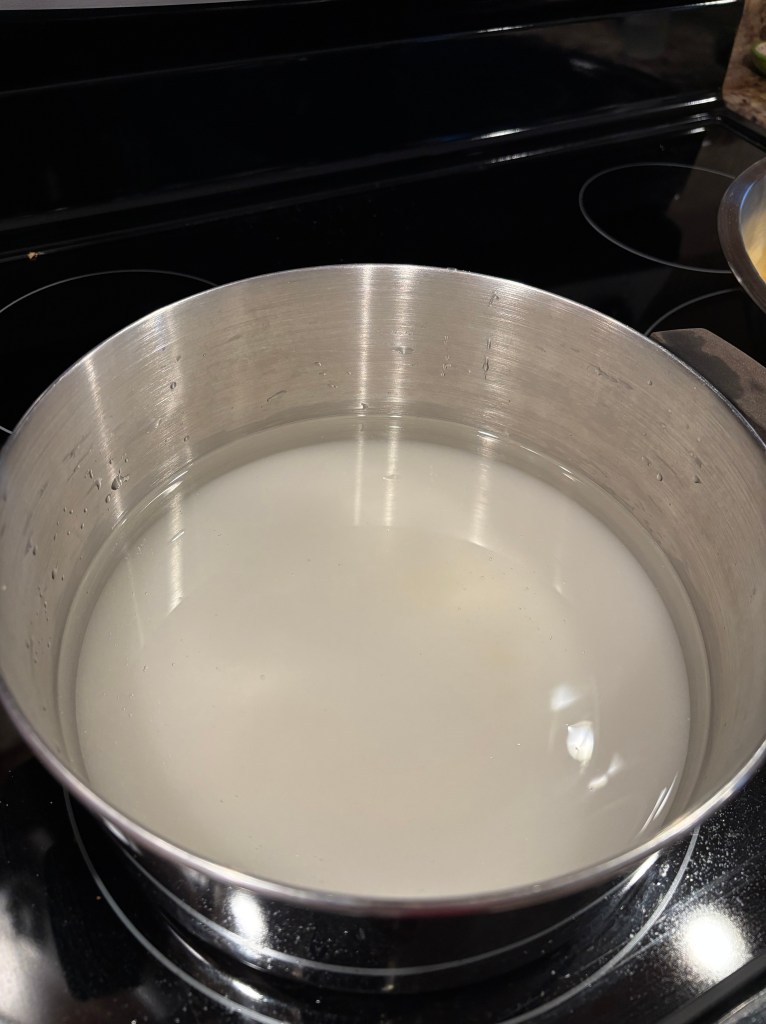
Step #4
Drain the water off of the boiled peels. Mix approximately 4 cups of water with 3 cups of sugar in the stock pot. This will be used to cook the peels so you can use more or less depending on how many peels you have. Just make sure you have enough that they are all able to be boiled in the water. Slowly bring the water to a boil and dissolve the sugar. Once dissolved, add the peels.

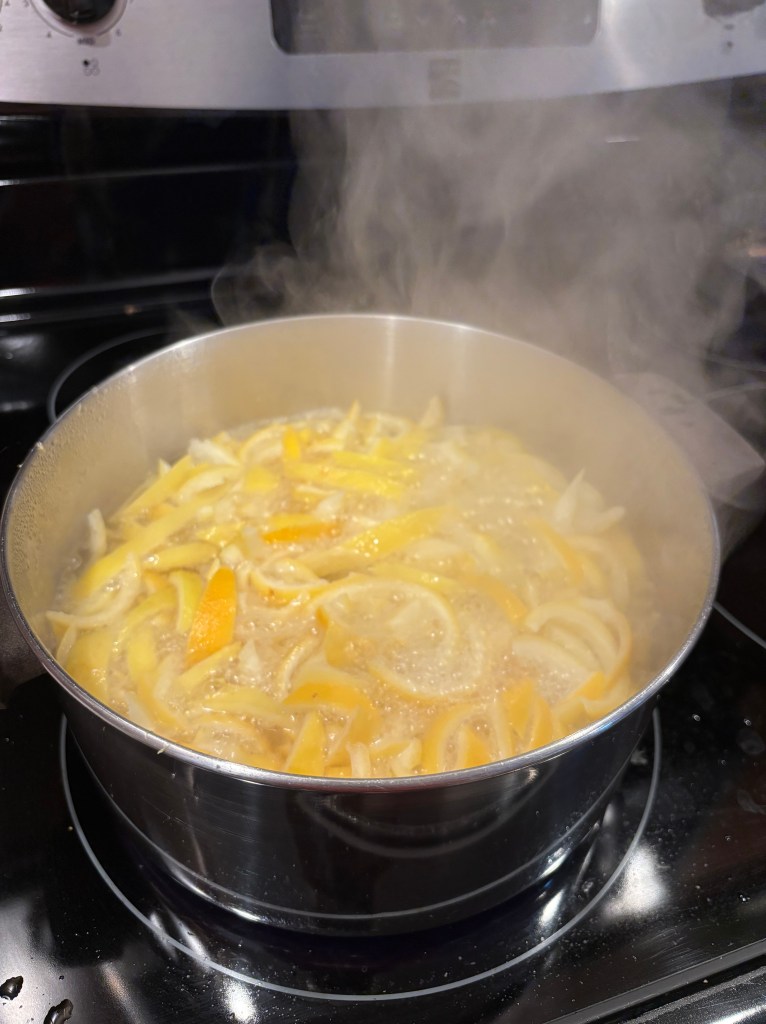
Step #5
The peels will need to simmer in the sugar water for 30-90 minutes, depending on how many peels and sugar water you have. Make sure to stir occasionally. It will be done when the peels become translucent and the sugar water turns yellow and starts to thicken. You can also eat a peel – if they are still bitter, try simmering for a little longer.
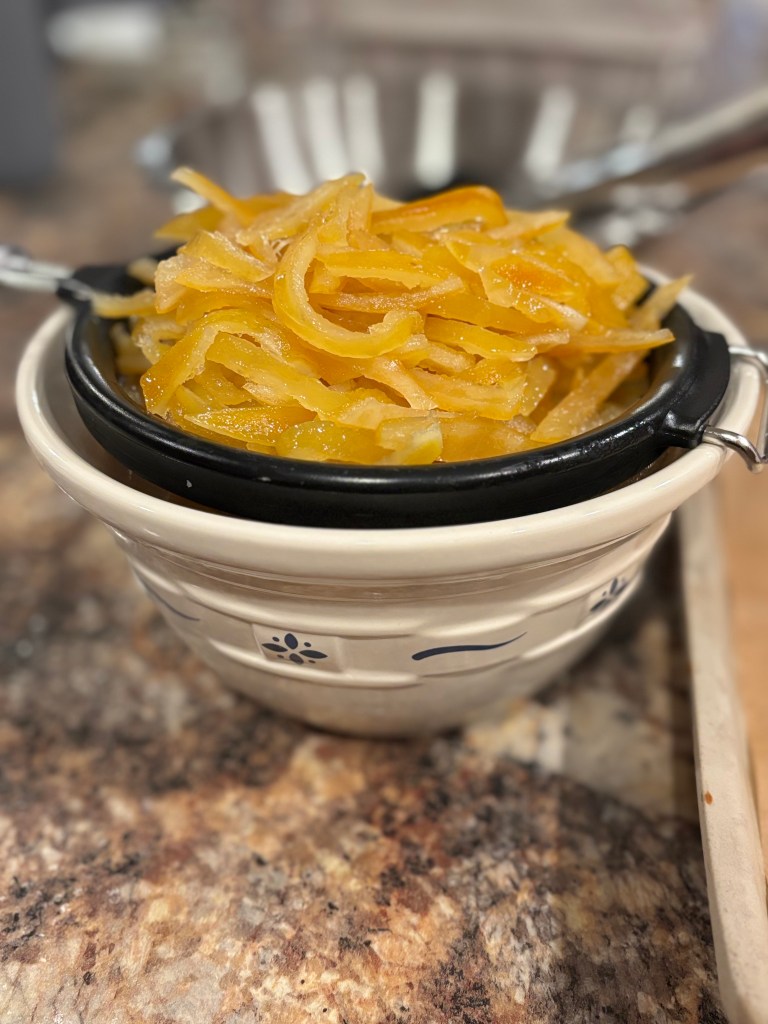
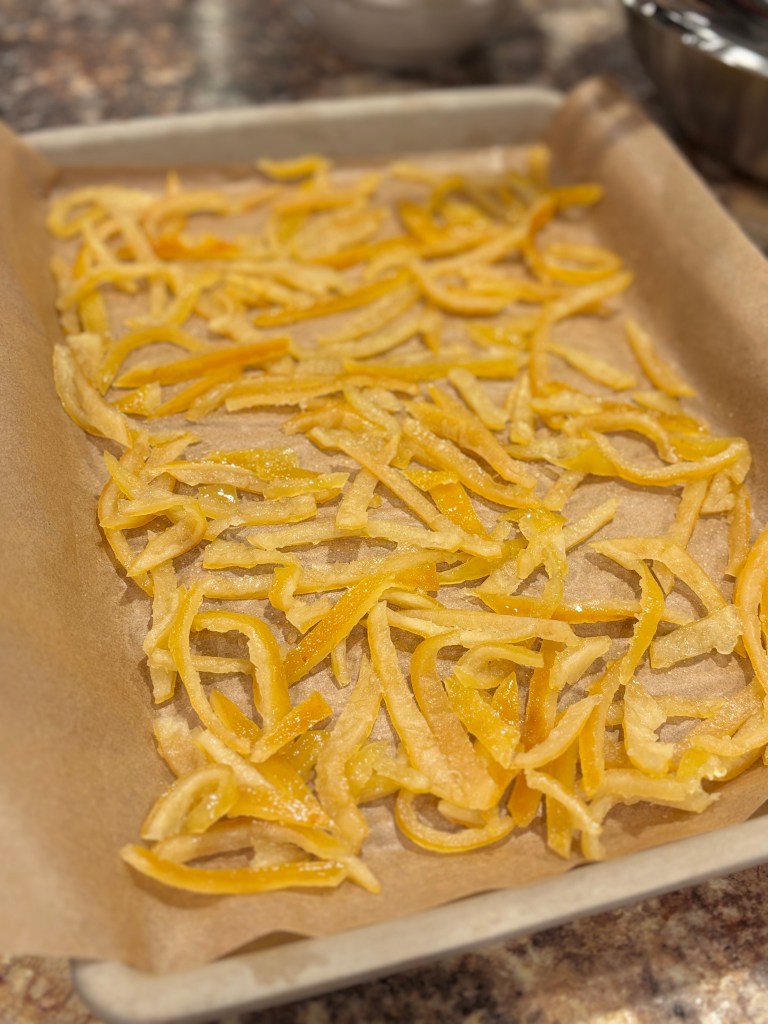
Step #6
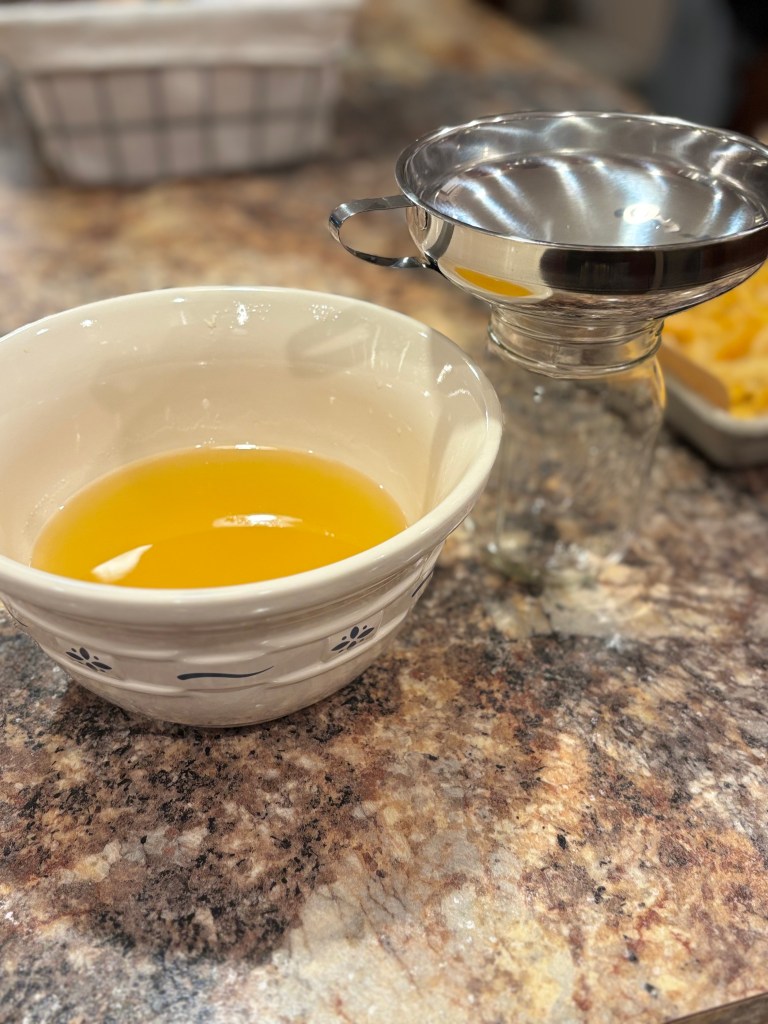
Once cooked, pour the peels and liquid through a strainer into ceramic bowl. Take the peels and lay them out on a sheet pan lined with parchment paper to dry.
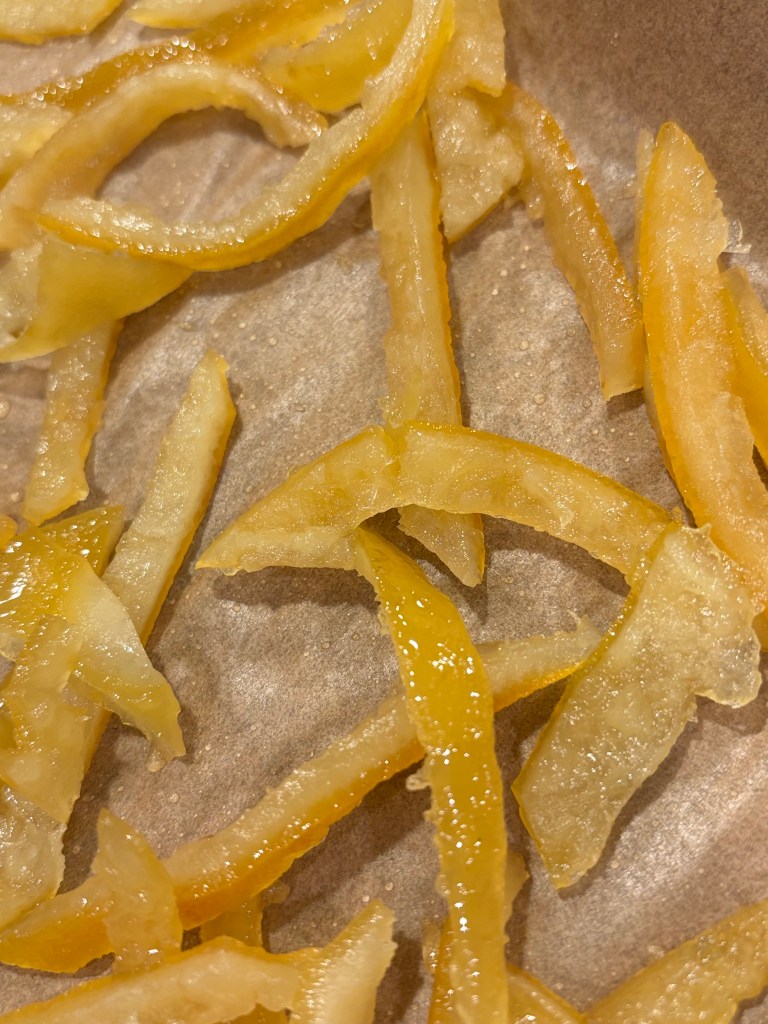
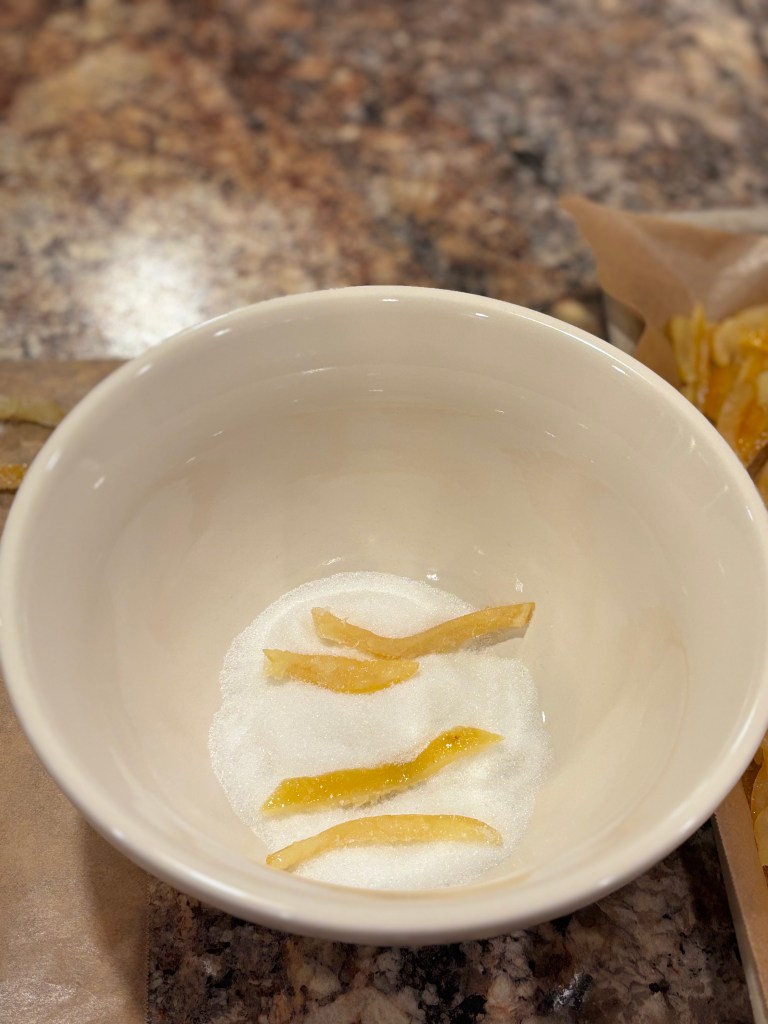
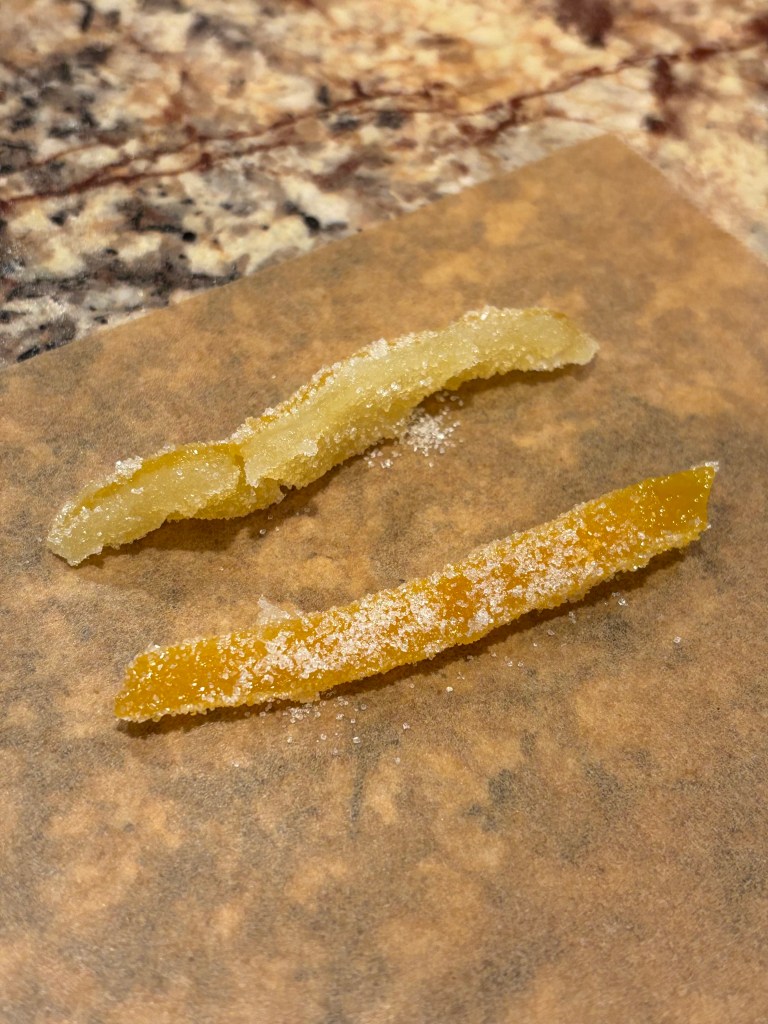
Step #7
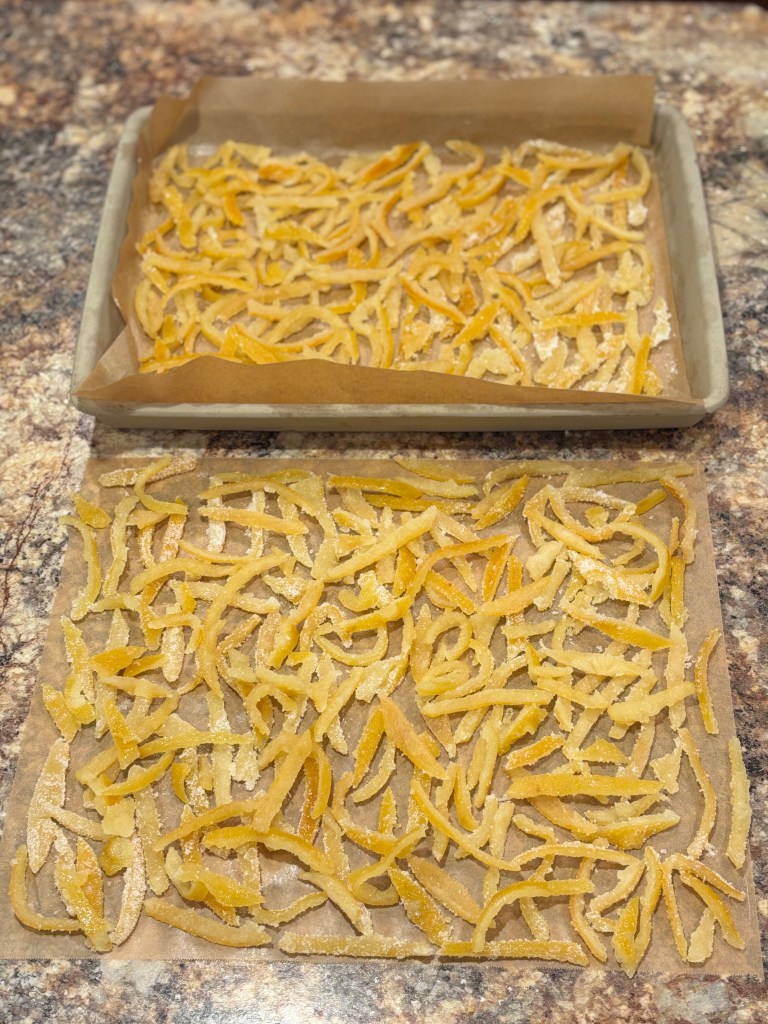
After about 15-30 minutes, the peels should be dry and sticky. Now it’s time to coat them in sugar. You can either roll them in sugar in a bowl or shake them in sugar in a bag. I rolled mine in a bowl of sugar then lay them back out on the parchment paper. Leave them sit out for several hours to finish drying.
Step #8
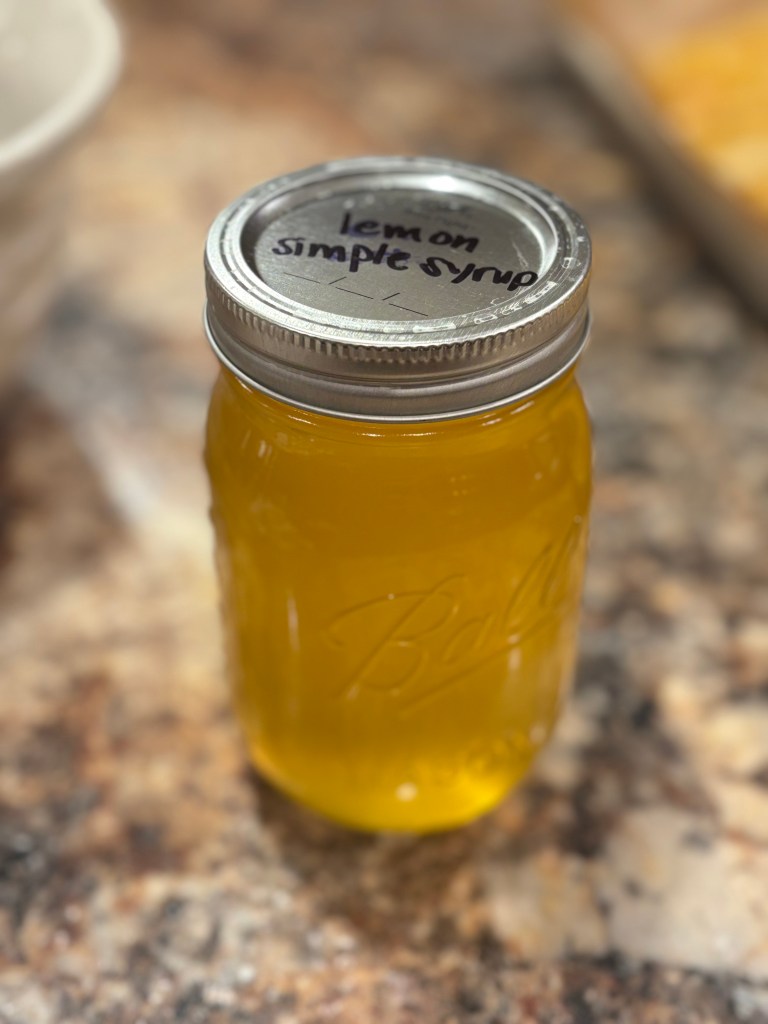
After they are dry, you can put them in the glass mason jars for storage. Using a canning funnel makes this process much easier.
Step #9
Don’t throw away the sugar water! Now that it’s been boiled and reduced, it is a lemon simple syrup. It can be used in many recipes like cocktails and deserts.
That’s it! You now have a homemade candy as well as a tasty syrup to try. Make sure to leave a comment to let me know if you’ve tried this before. What are some recipes you’ve used the lemon syrup in before?
#canning #homecanning #preservingfood #lemonjuice #homemade #citruslove #foodpreservation #sustainableliving #selfsufficiency #kitchenadventures #homesteading #freshjuice #diycanning #organicliving #fromscratch #canningseason #pantrystaples #naturalliving #zerowaste #prepperlife #foodstorage


Leave a comment