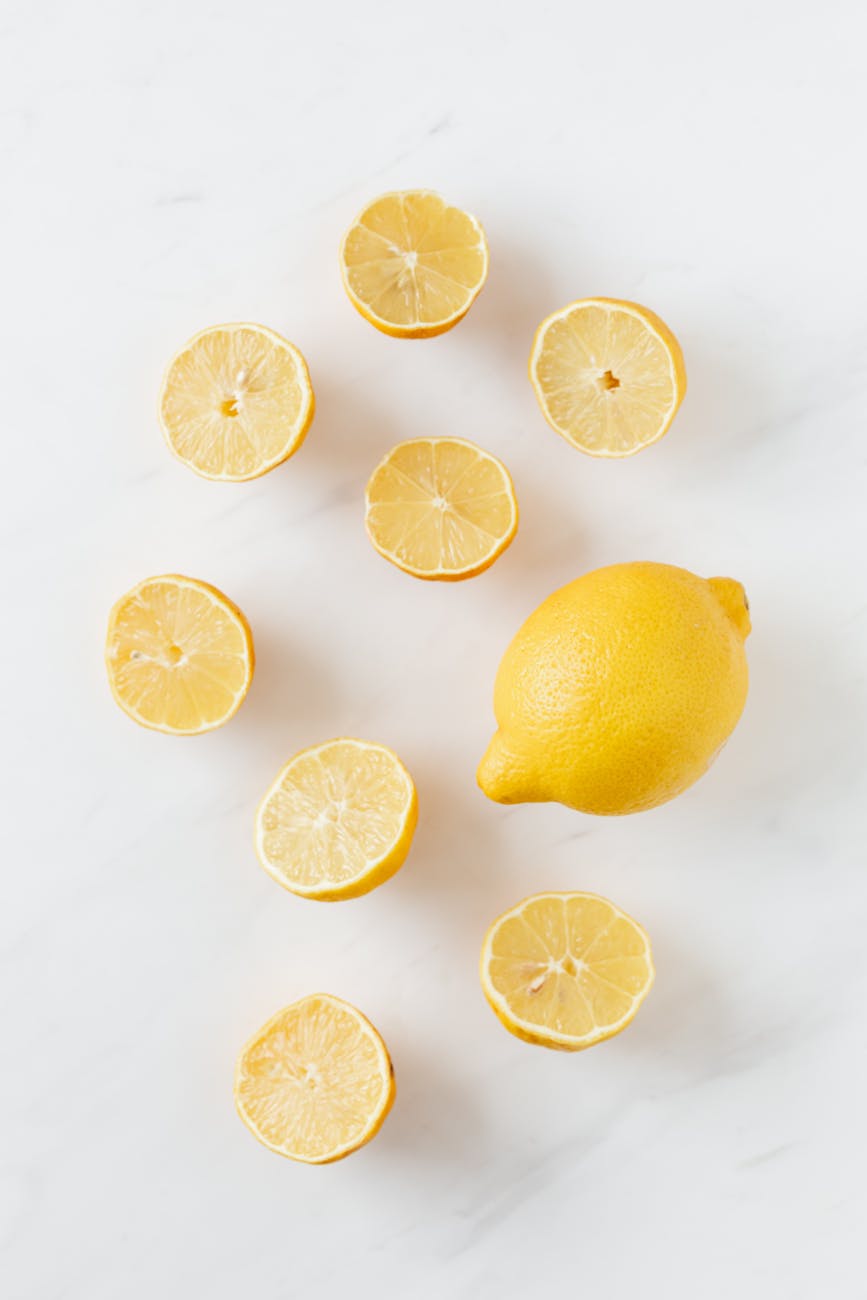
If you’ve been following by blog, you’ll know that I’ve been trying to cut many pre-packaged food and preservatives from our diets. I’m off to a great start with making many staple items from scratch. When I realized that I was running low on lemon juice, I thought I better check the ingredients before I bought a new bottle. Not an item I’ve given much thought to before, but I’m glad I did! I couldn’t find an option in our area that offered a lemon juice without preservatives and additives added. So, I decided to can my own. I took it a step further and thought, “Can I use the whole lemon without any waste?” That’s a whole other story about how I’m trying to use every part of an item with zero waste. 🙂
Read on to see how I canned my lemon juice and stay tuned for upcoming posts for how I used the remainder of the lemon parts. Don’t forget to like this post and subscribe to be notified of future posts!
Some of the links on this website are affiliate links, which means I may earn a small commission if you make a purchase through them at no additional cost to you. As an Amazon Associate, I earn from qualifying purchases. This helps support the maintenance of this site and allows me to continue providing helpful content. Thank you for your support!
Supplies & Materials Needed
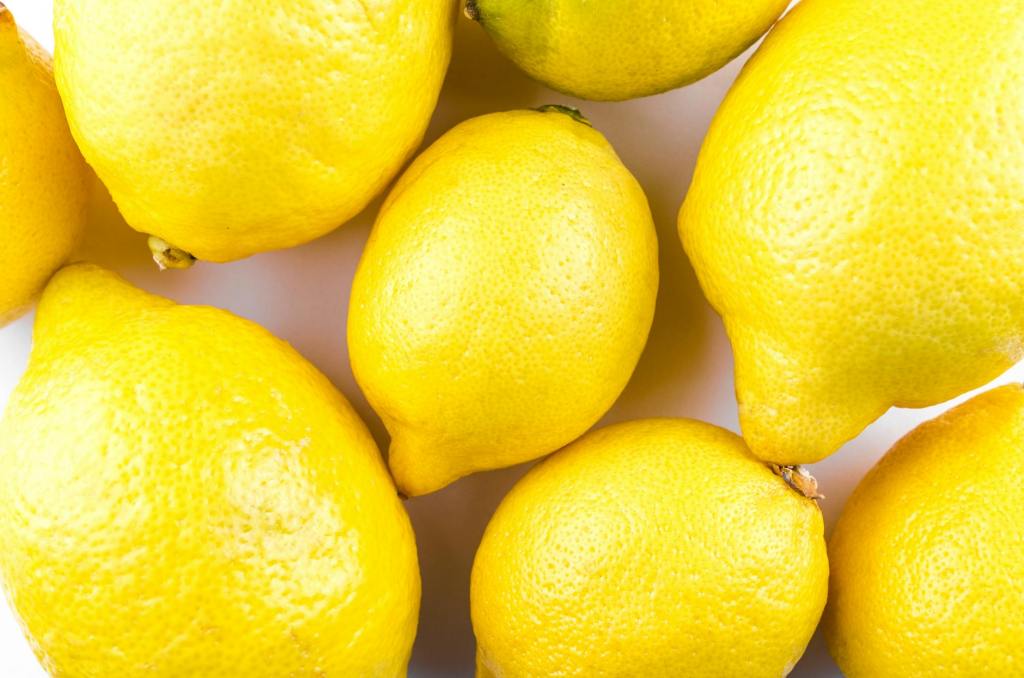
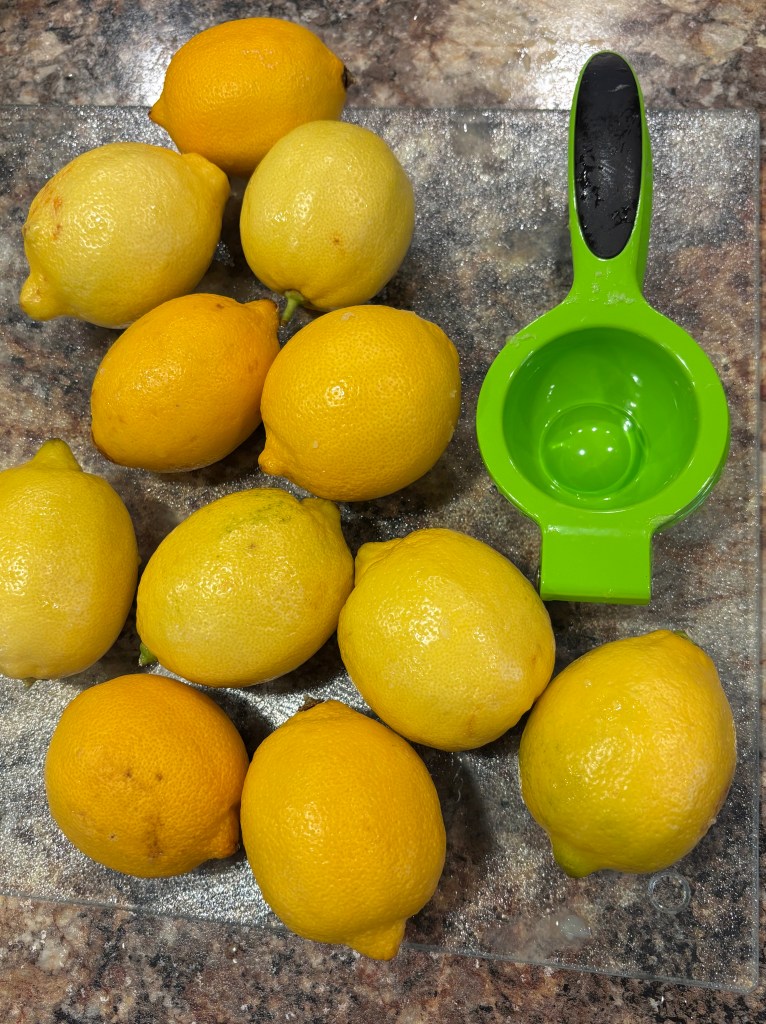
- Organic lemons
- Fruit wash
- Glass cutting board
- Sharp knife
- Manual lemon juicer or electric juicer
- Stainless mesh strainer
- Ceramic bowl
- Stainless steel pot / saucepan
- Ball 4 oz mason jars
- Canning funnel
- Canner
- Jar lifter
Step #1
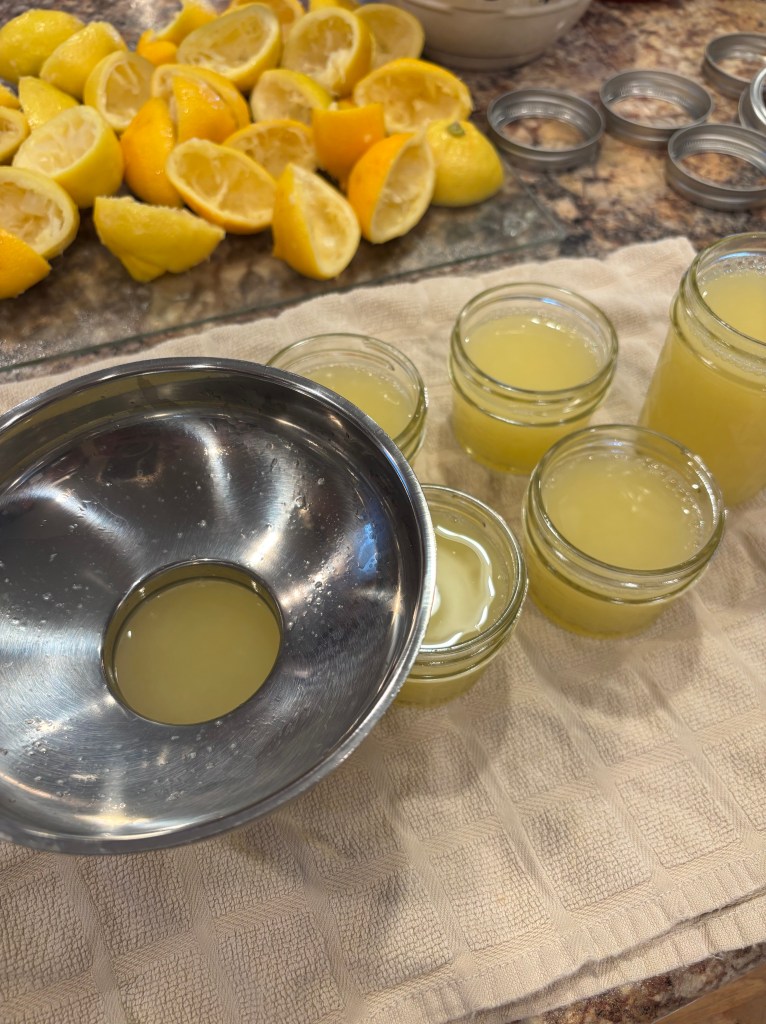
Start by washing the lemons with a fruit wash (I recommend Attitude). I used 4 pounds of lemons. You may use however many lemons you like. This amount equals about eight – 4 oz jars of juice.
Step #2
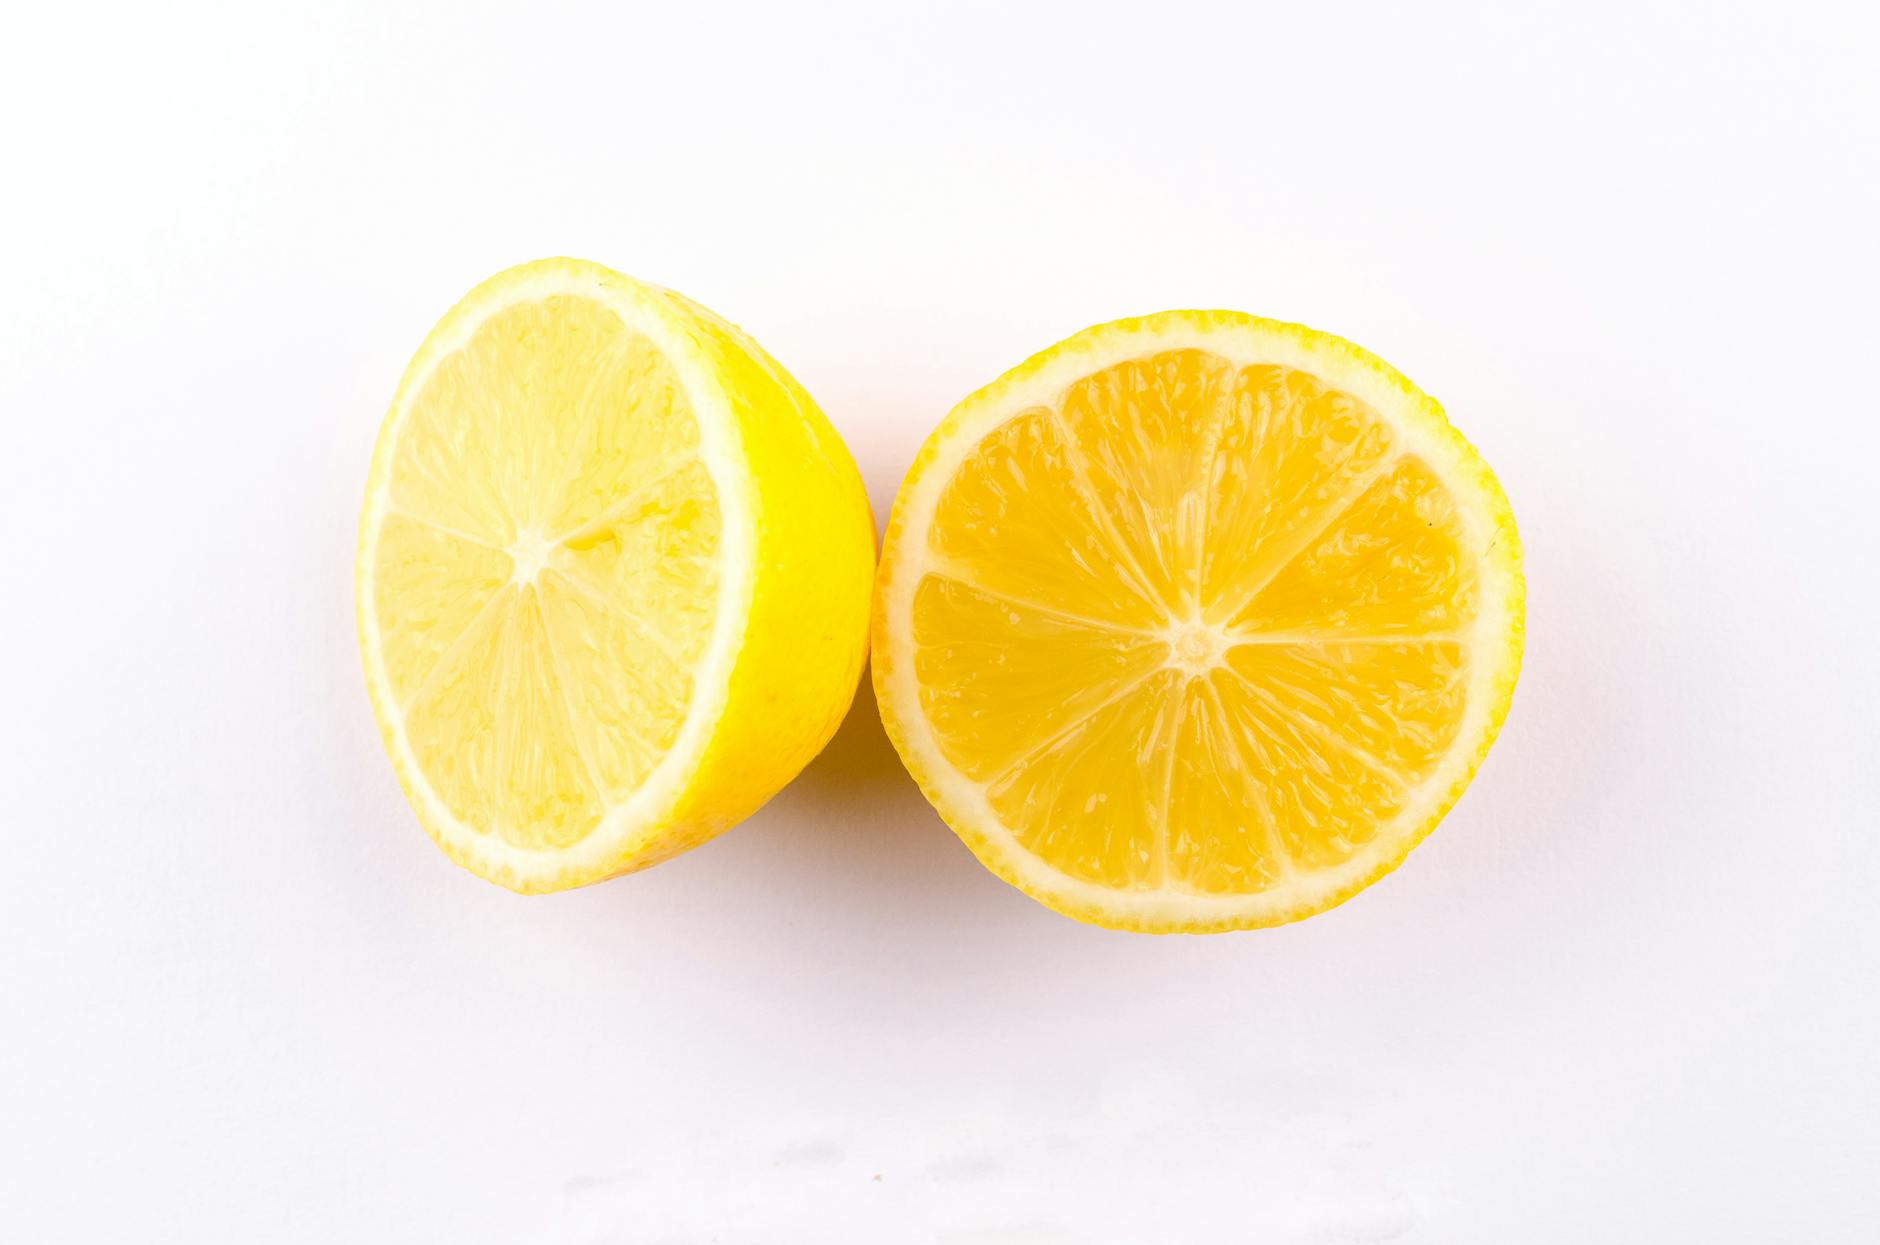
On a glass cutting board, slice all of your lemons in half.
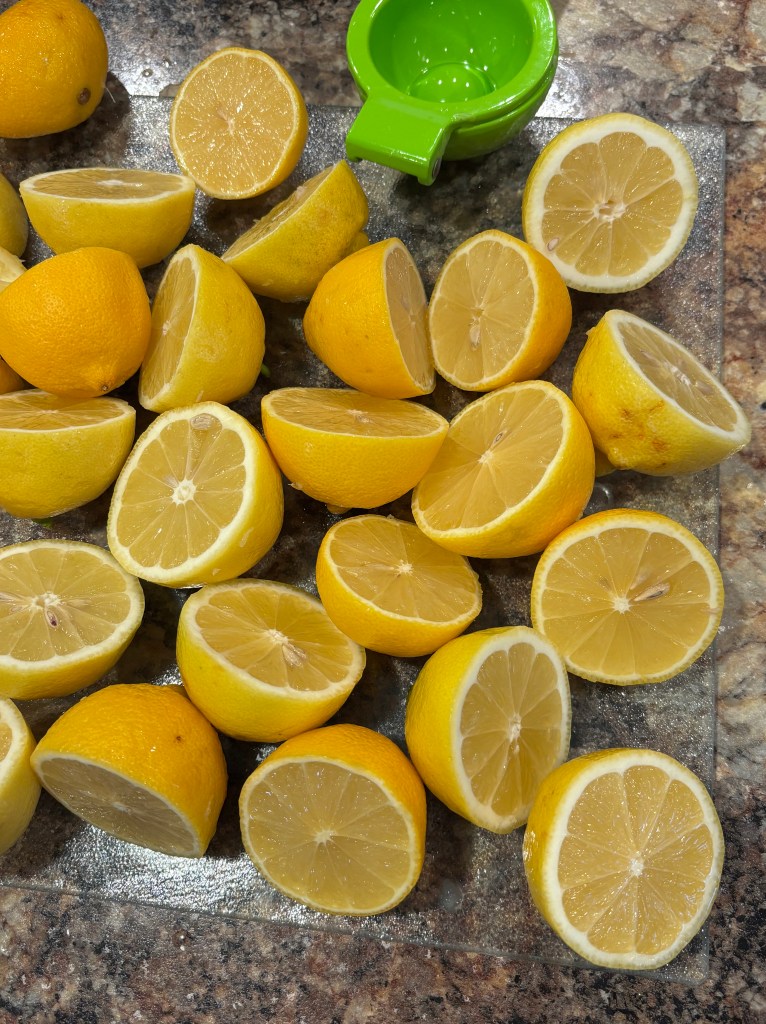
Step #3
Using lemon juicer, juice all of the lemons into a pan. Make sure to get all of the juice so none is left behind! You can either use a hand juicer like I did or try this electric juicer to speed up the process!

Step #4
Once all of the lemons have been squeezed / juiced, it’s time to strain out the pulp and seeds. Using a stainless steel mesh strainer, pour the squeezed product into another bowl. You may save the pulp for a later recipe if you would like.


Step #5
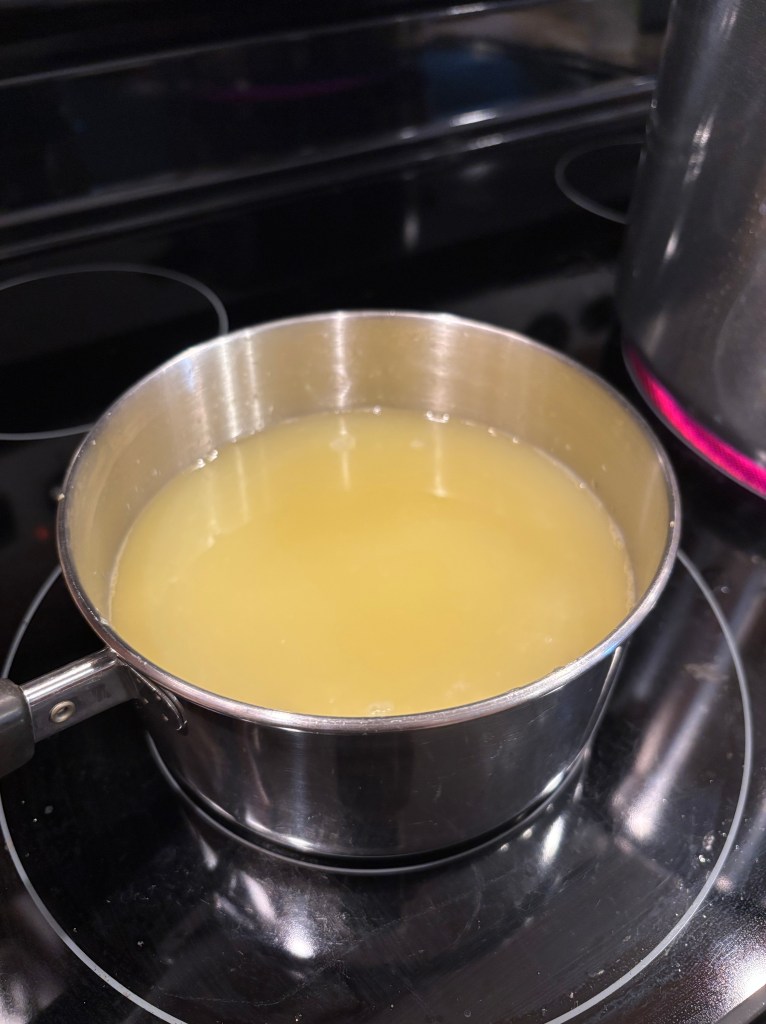
Pour the juice into a stainless steel pot / saucepan and bring to a boil. You simply want to thoroughly heat the juice to prevent temperature shock to the jars. It doesn’t need to be boiled for any length of time.
Step #6
Once heated, pour the juice into clean, sterilized jars using a canning funnel. Make sure to leave about 1/4″ headspace.
Step #7
Wipe each of the rims with a paper towel or clean rag to wipe any juice from the top of the jar. This will help get a proper seal. Place a new, clean seal and rim onto each jar. The rims should only be finger tight. Don’t crank down on them to tighten.
Step #8
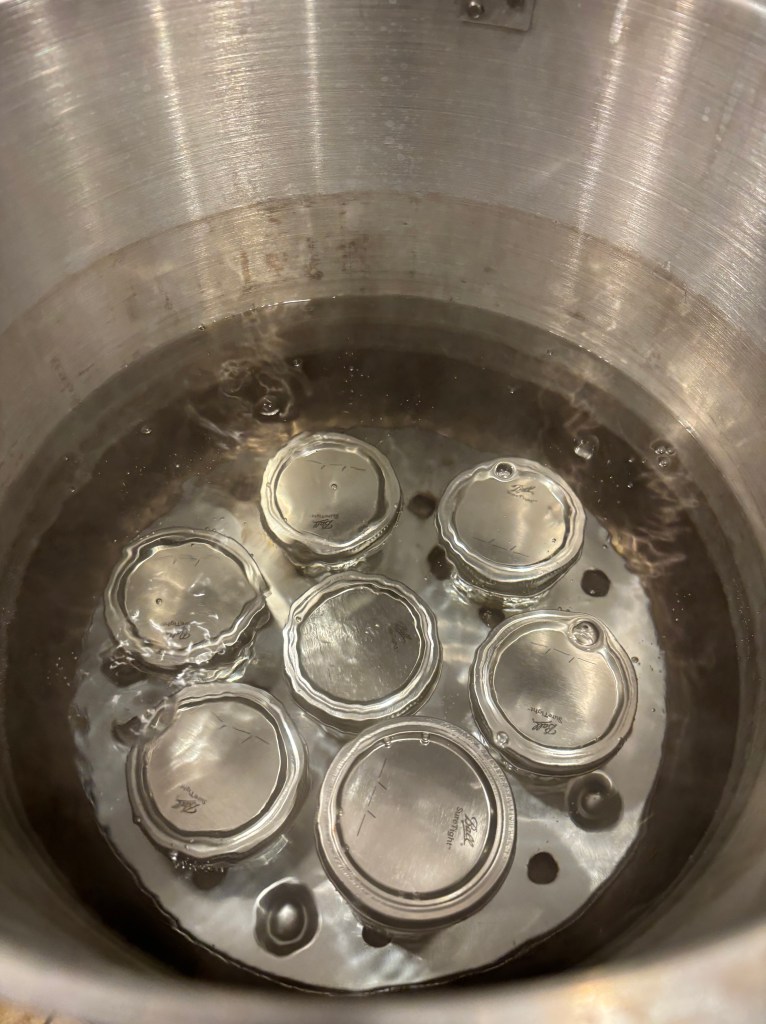
Fill your canner with about 3-5 quarts of hot water and bring to a boil. You only need enough water to cover the jars with two inches of water. When the water starts to boil, add the jars using your jar lifter. Keep the water boiling and boil for 5-10 minutes. This juice is able to be processed with the hot water method rather than pressure canning due to the acidity in the juice.
Step #9
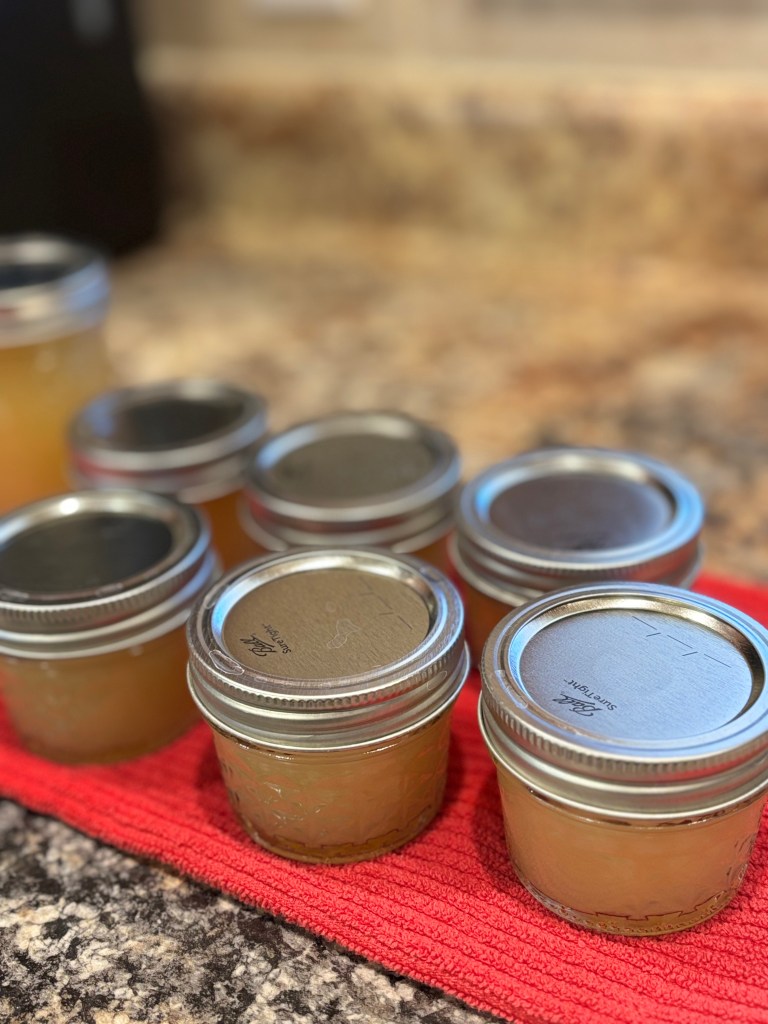
After the jars have processed, remove them from the water using your jar lifter and set onto a towel. They must remain undisturbed for the next 12-24 hours while they cool and set.

Step #10
Test each jar lid to make sure it got a proper seal by pressing on them. I also remove the rim and lift the jar by the seal. If no pop is heard and the jar can withstand the lift and its own weight, then it has sealed properly!
Congratulations, you made preservative-free lemon juice! This process is fairly simple to make. I chose to use the 4 oz jelly jars to make sure we could use the juice without it going bad. It’s definitely a different mindset when preparing or preserving food without preservatives. Naturally the food product isn’t going to last as long so you have to appropriately calculate for that. I am 100% satisfied with my end result and have already started using it in my cooking.
As you could see, there was a lot of waste leftover after squeezing all the juice from the rinds. Stay tuned and follow along for more blog posts on what I did to preserve the rinds!
#canning #homecanning #preservingfood #lemonjuice #homemade #citruslove #foodpreservation #sustainableliving #selfsufficiency #kitchenadventures #homesteading #freshjuice #diycanning #organicliving #fromscratch #canningseason #pantrystaples #naturalliving #zerowaste #prepperlife #foodstorage


Leave a comment