My family loves Cheez-its. As part of my mission to stop buying pre-packed food and snacks, I decided that this would be an easy switch to make from scratch. I was right! A little time consuming, but worth it. Everybody loves them, and I love that they are homemade with limited ingredients. You could even take a few hours to make a months supply and use a vacuum sealer to keep them fresh. Let’s dive in!
Some of the links on this website are affiliate links, which means I may earn a small commission if you make a purchase through them at no additional cost to you. As an Amazon Associate, I earn from qualifying purchases. This helps support the maintenance of this site and allows me to continue providing helpful content. Thank you for your support!
I have decided to take on the challenge of evaluating everything in our home and asking myself, “Is there a swap I can make to improve the overall health of our family?” If the answer is yes, then I can do research on how to make the swap. Follow along as I post my journey through making these swaps in my home. Many blog posts to come!
Materials and Supplies Needed:
- Block cheese, brand and flavor of your choice
- Cuisinart Food Processor with shredder blade
- 2 cups Organic All Purpose Flour
- 1 tsp Salt
- 4 tbsp Milk
- 1 Stick Butter (1/2 cup)
- Measuring Cups and Spoons
- Glass Jars for Storage
- Canning Funnel
- Silicone Spoons
- Pizza Cutter
- Glass or wood cutting board
- Rolling pin
- Parchment Paper
- Baking Stone
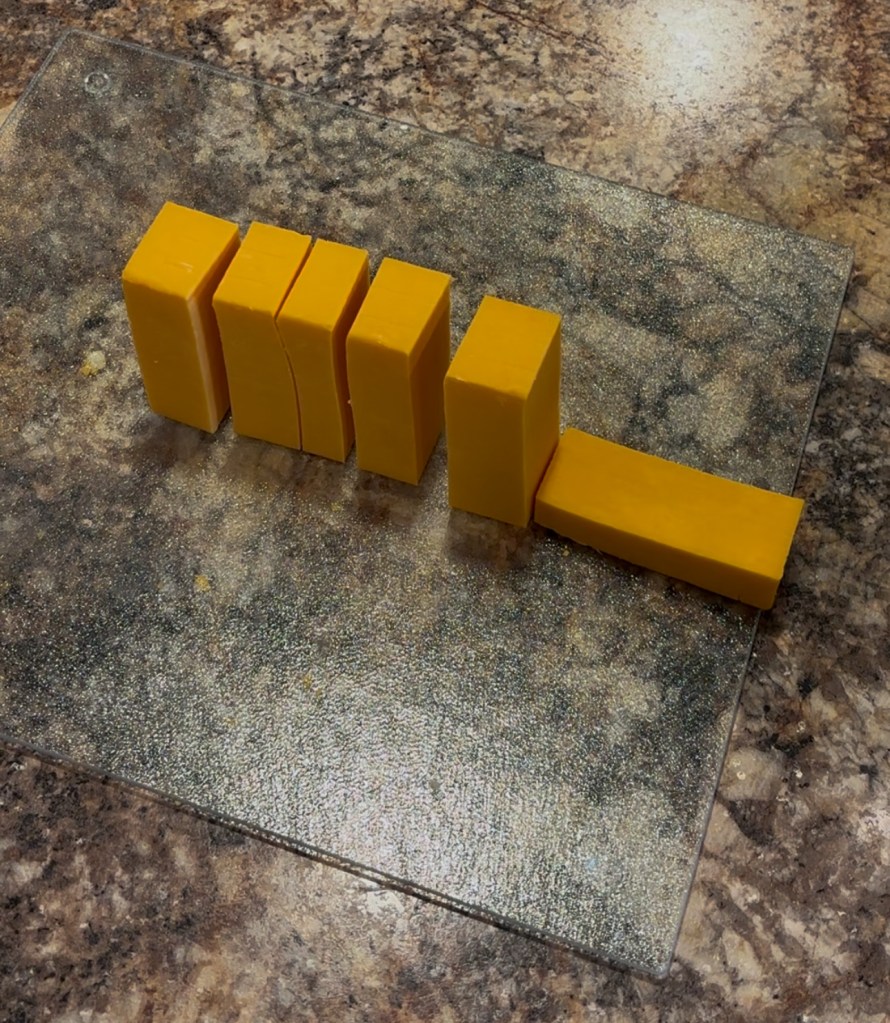
Step #1
Choose a flavor of cheese that you would like your cracker flavor to be. It can be anything! Using an 16 ounce block of cheese, slice the block into about two inch pieces.
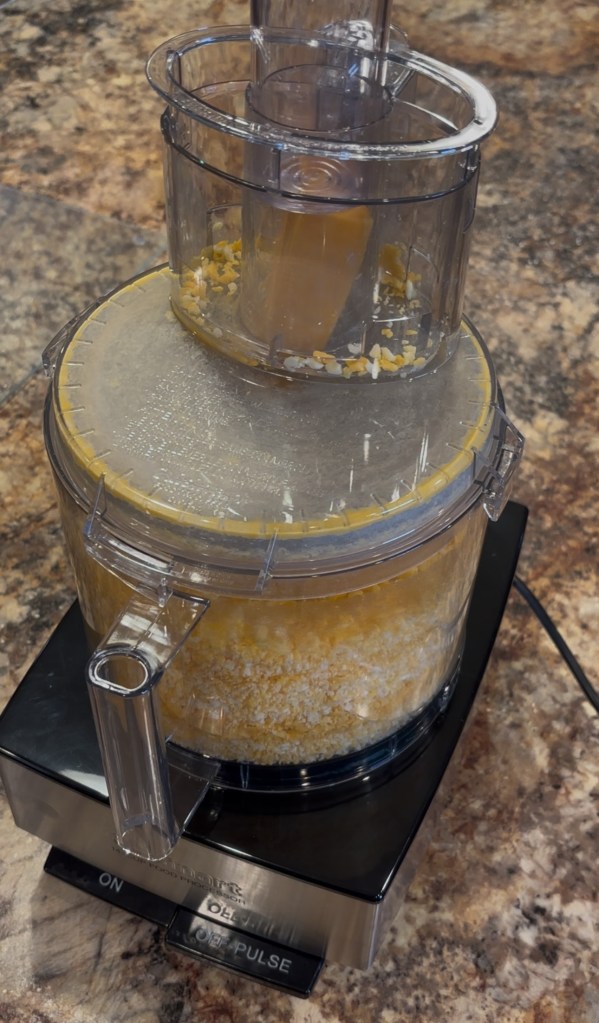
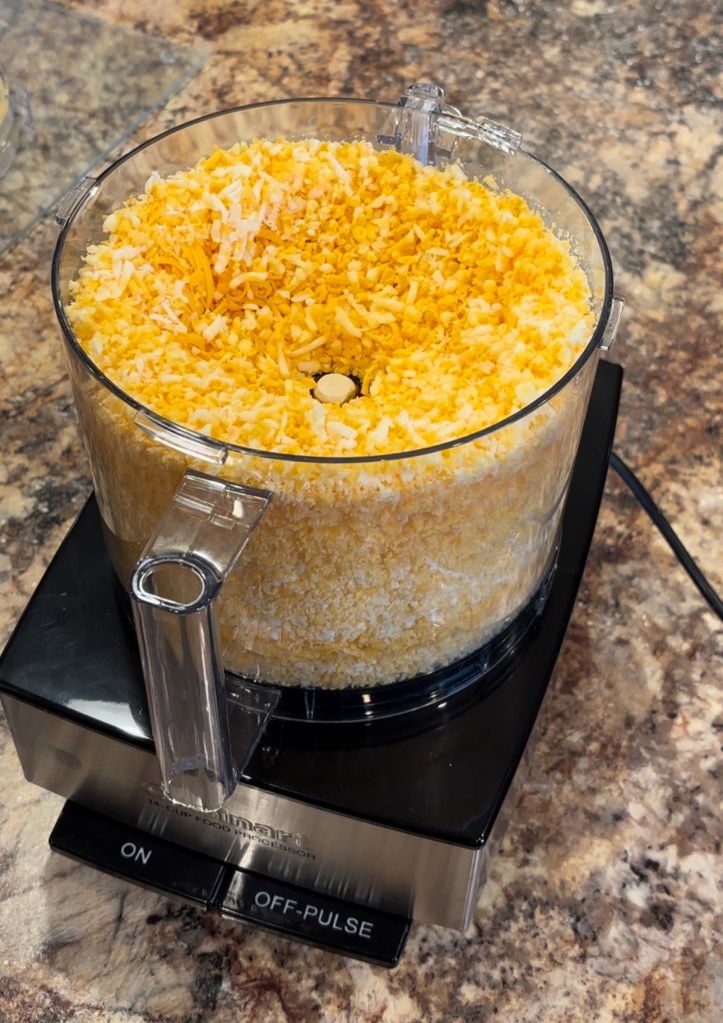
Step #2
Set up the Cuisinart Food Processor with cheese shredder blade according to the manufacturers instructions. Put each piece of cheese through the feed tube and push it down with the circular piece. Repeat for each piece of cheese.
Step #3
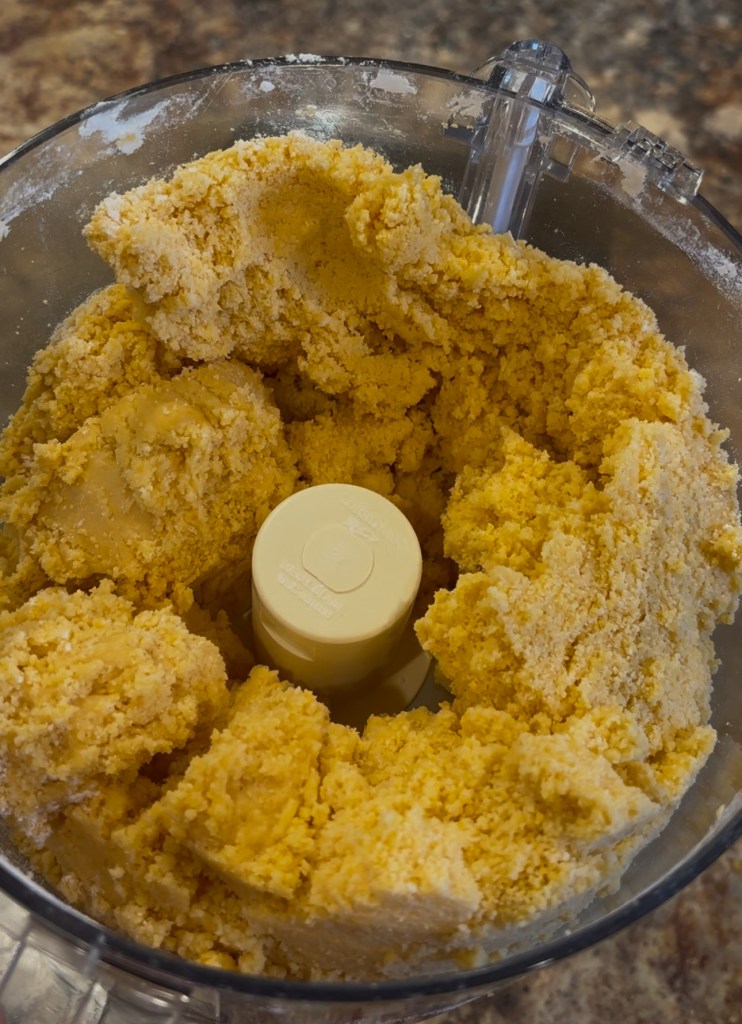
Once all the cheese has been shredded through the processor, remove the lid and add remaining ingredients. I use a 1:1 ratio of ingredients (for the most part :)) Add 2 cups of flour (1 cup per 8 oz of cheese), 1 tsp of salt, 1 stick of butter (1/2 cup) and 1 splash of milk (about 3-4 tbsp). Put the lid back on and process until a dough forms.
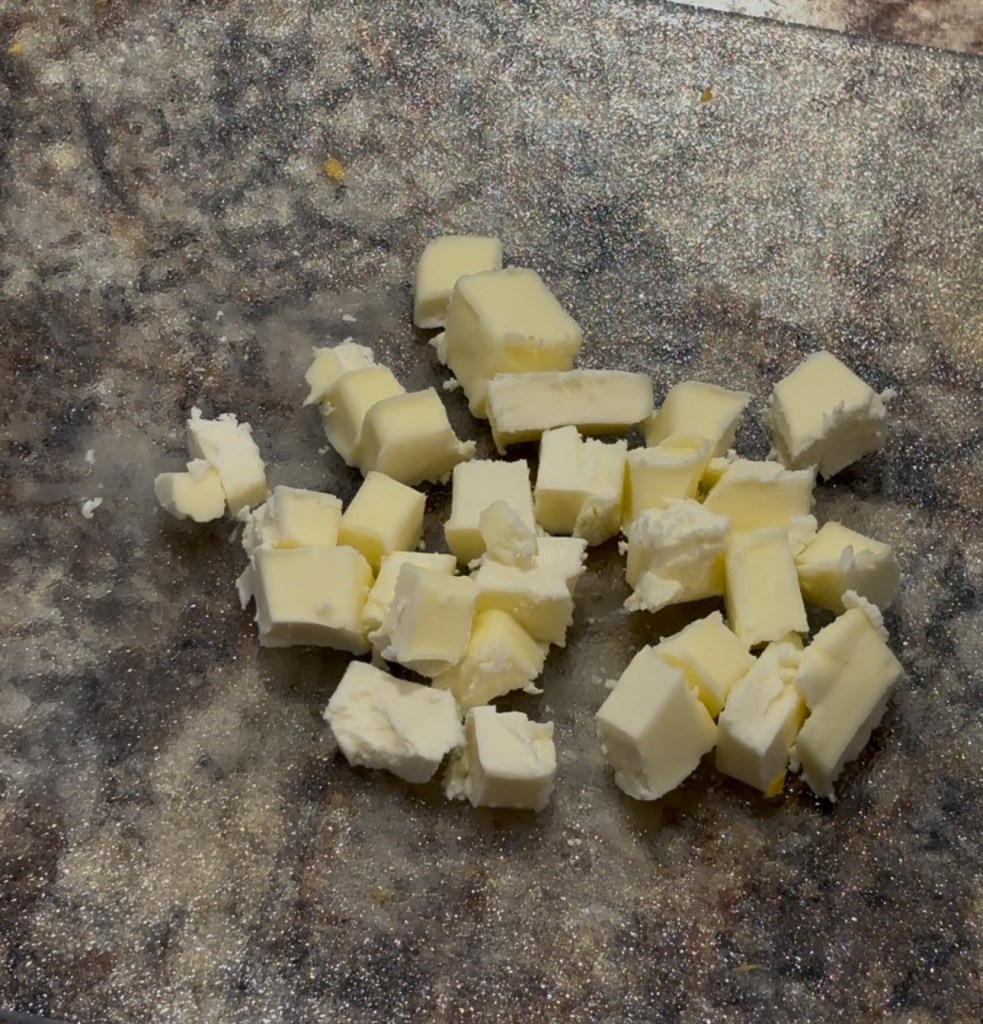
I chop the butter before putting it in the food processor.
Your dough should look something like this after it’s processed.
Step #4
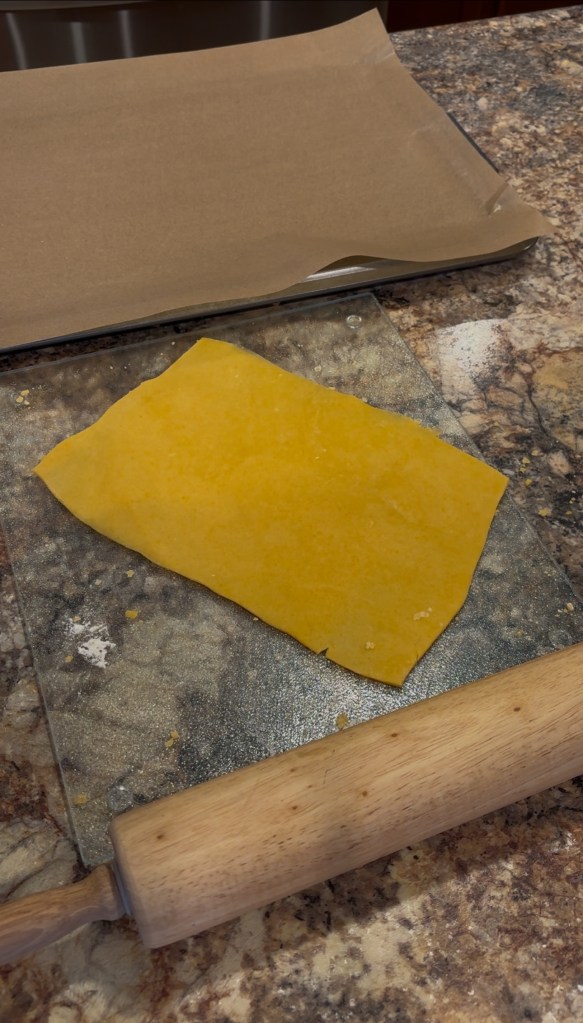
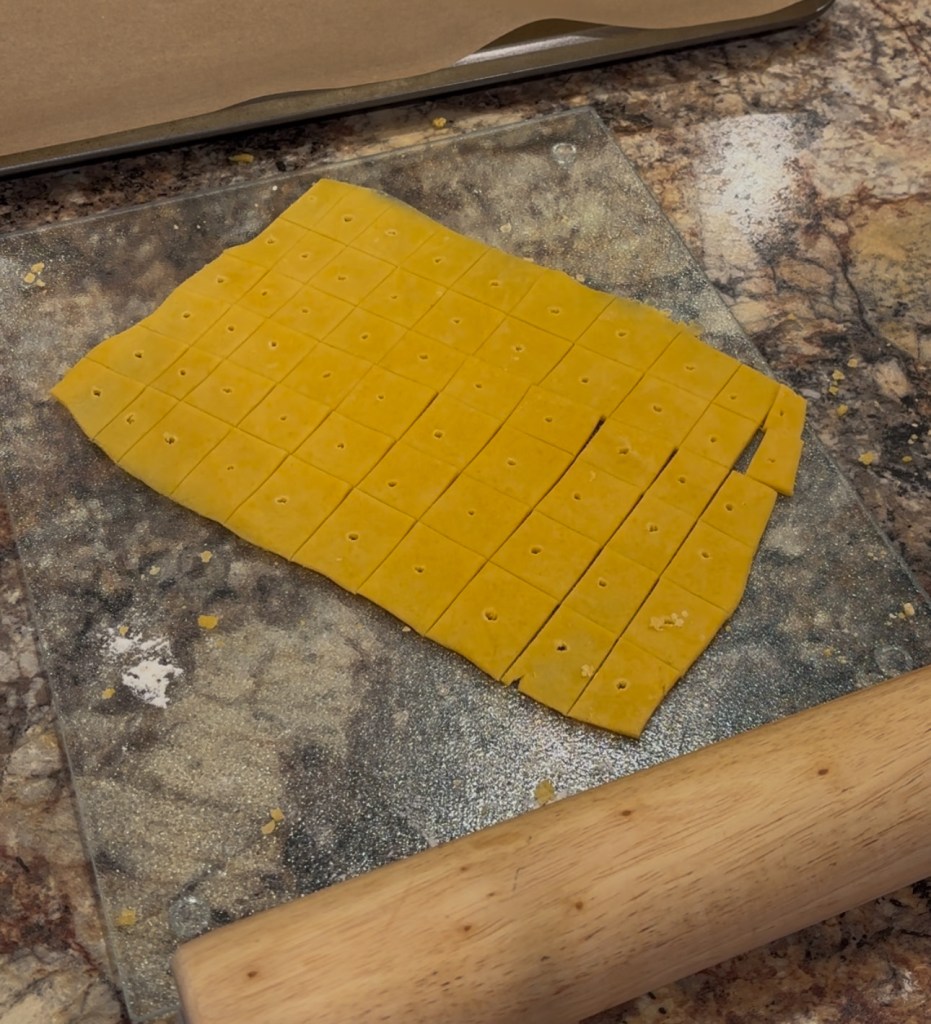
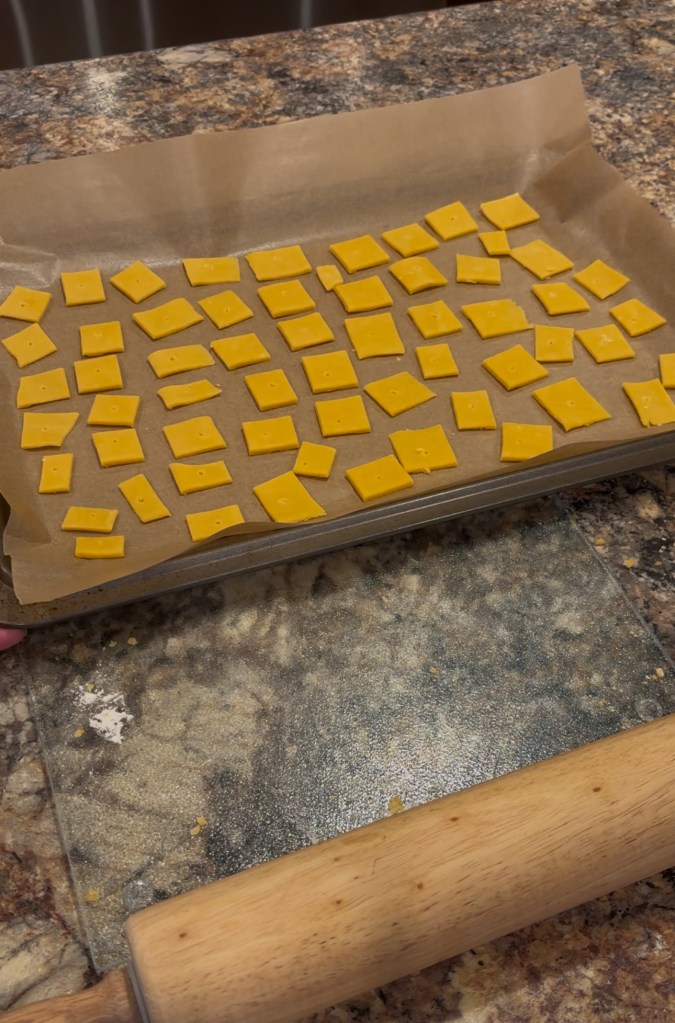
Roll about 1/4 of the dough out on a glass or wood cutting board. It should be pretty thin (like paper thin) because it will puff up when baked. After it’s rolled out, use a pizza cutter and cut into squares. You can cut whatever size you like. Take a fork or a toothpick and poke a small hole in the middle of each square. This will help lessen the puffing up.
Step #5
Line your baking stone with parchment paper. Place all of the squares on stone, evenly spaced. You may top them with salt, but in my opinion there is enough salt in the butter and recipe. I don’t salt the tops. Bake in a 325 F oven for about 20-25 minutes. Or longer if you like the extra toasty cheese crackers. Let them cool on a plate for the afternoon. Repeat this process until the dough is gone.

Step #6
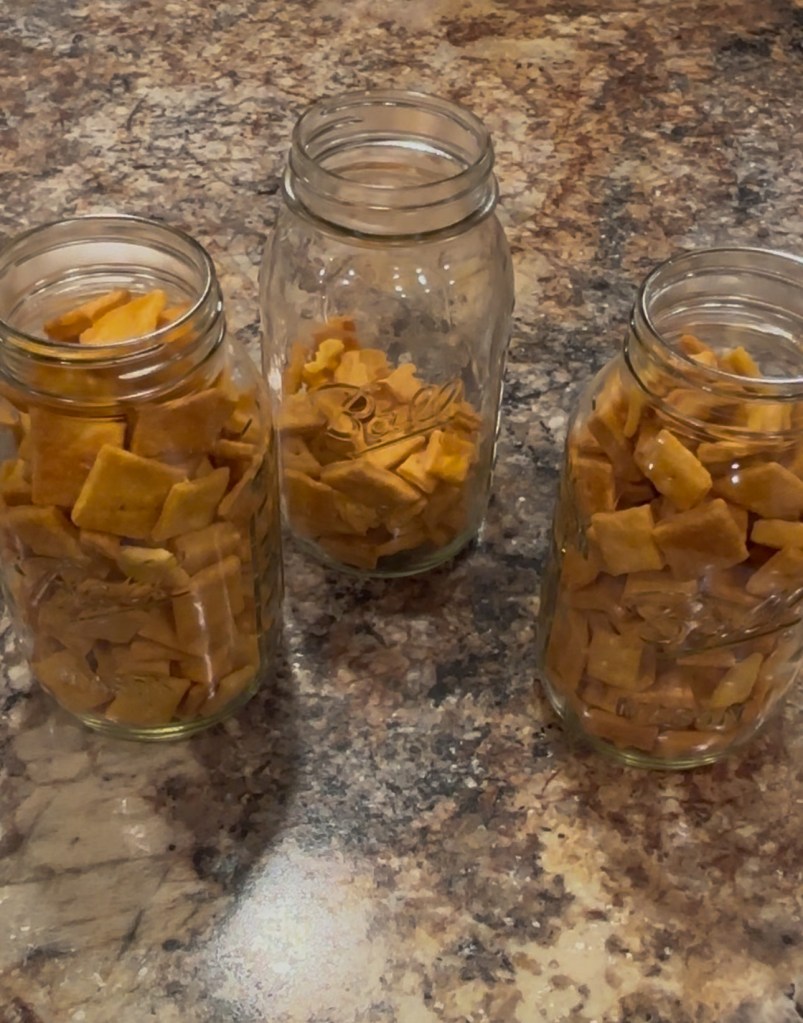
Once they have fully cooled for a few hours, transfer to a glass storage container using a stainless steel funnel. This batch makes almost three quart jars. They should last 1-2 weeks on the shelf.
That’s it! Making these cheese crackers at home is a simple, cost-effective way to enjoy fresher, better-tasting crackers without unnecessary additives. Watch out, they’re addicting!
Don’t forget to like my post and subscribe to be notified for new blog posts!
#HomemadeCheese #ShreddedCheese #DIYCheese #FreshCheese #CheeseLover #FoodHacks #KitchenTips #HealthyEating #CookFromScratch #BetterThanStoreBought #HomemadeCheeseCrackers #EasySnackRecipes #BetterThanStoreBought #CheeseLovers #CleanEatingSnacks #BakingMadeSimple #CrispyAndCrunchy #FunWithFood #SpiceItUp #PerfectlyBaked #SnackTimeMagic #HomemadeGoodness #SnackSmart #FreshAndCrispy #FromScratchWithLove #HealthyIndulgence #FlavorfulCreations #SimpleBaking #BakingJoy #MadeWithLove


Leave a comment