Making healthier kitchen swaps is a simple and exciting way to improve your well-being without sacrificing flavor or enjoyment. Small changes, like using Greek yogurt instead of sour cream or swapping white rice for quinoa, can boost nutrition while keeping meals delicious. Not only do these swaps help you feel more energized and support long-term health, but they also encourage creativity in the kitchen. Experimenting with new ingredients can make cooking more fun and rewarding, turning everyday meals into opportunities for discovery and better living.
Some of the links on this website are affiliate links, which means I may earn a small commission if you make a purchase through them at no additional cost to you. As an Amazon Associate, I earn from qualifying purchases. This helps support the maintenance of this site and allows me to continue providing helpful content. Thank you for your support!
I have decided to take on the challenge of evaluating everything in our home and asking myself, “Is there a swap I can make to improve the overall health of our family?” If the answer is yes, then I can do research on how to make the swap. Follow along as I post my journey through making these swaps in my home. Many blog posts to come!
In this article, I will show you a very simple and cost effective swap from buying pre-shredded cheese to shredding it yourself at home. I chose this swap to eliminate the added anti-caking ingredients in the pre-shredded cheese packages at the store.
Materials and Supplies Needed:
- Block cheese, brand and flavor of your choice
- Cuisinart Food Processor with shredder blade
- Cornstarch
- Stainless Steel Bowl for Mixing
- Glass Jars for Storage
- Canning Funnel
- Silicone Spoons
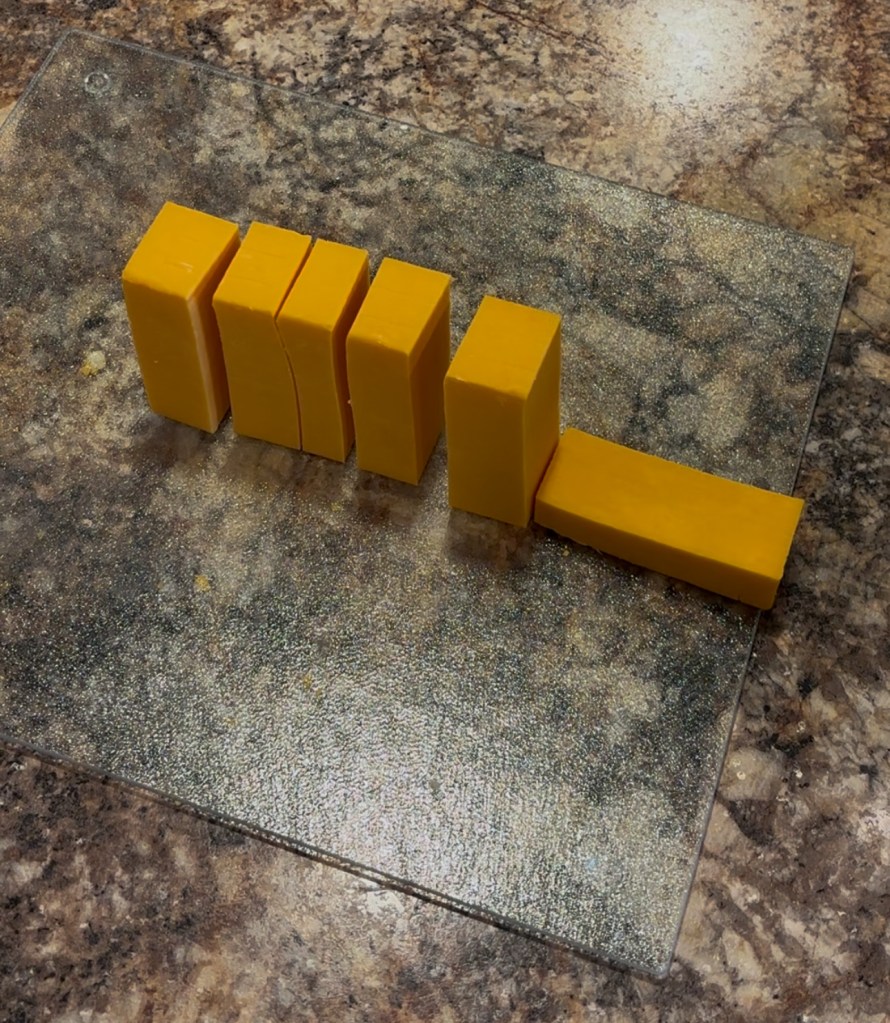
Step #1
Choose a flavor of cheese that you would typically buy in the shredded form. I usually keep a cheddar blend, mozzarella and Monterey Jack on hand. Using an 8 or 16 ounce block of cheese, slice the block into about two inch pieces.
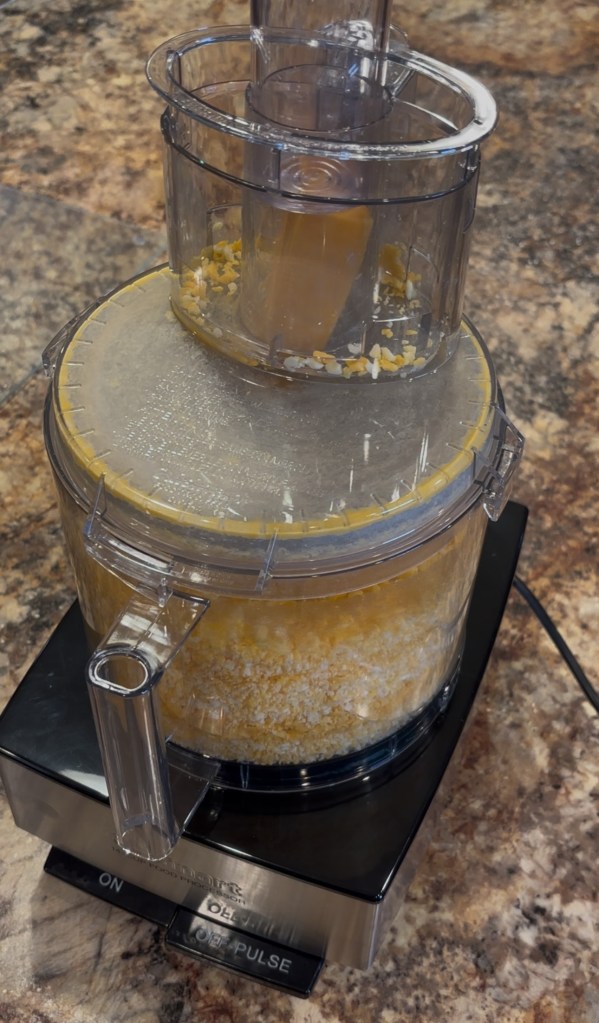
Step #2
Set up the Cuisinart Food Processor with cheese shredder blade according to the manufacturers instructions. Put each piece of cheese through the feed tube and push it down with the circular piece. Repeat for each piece of cheese.
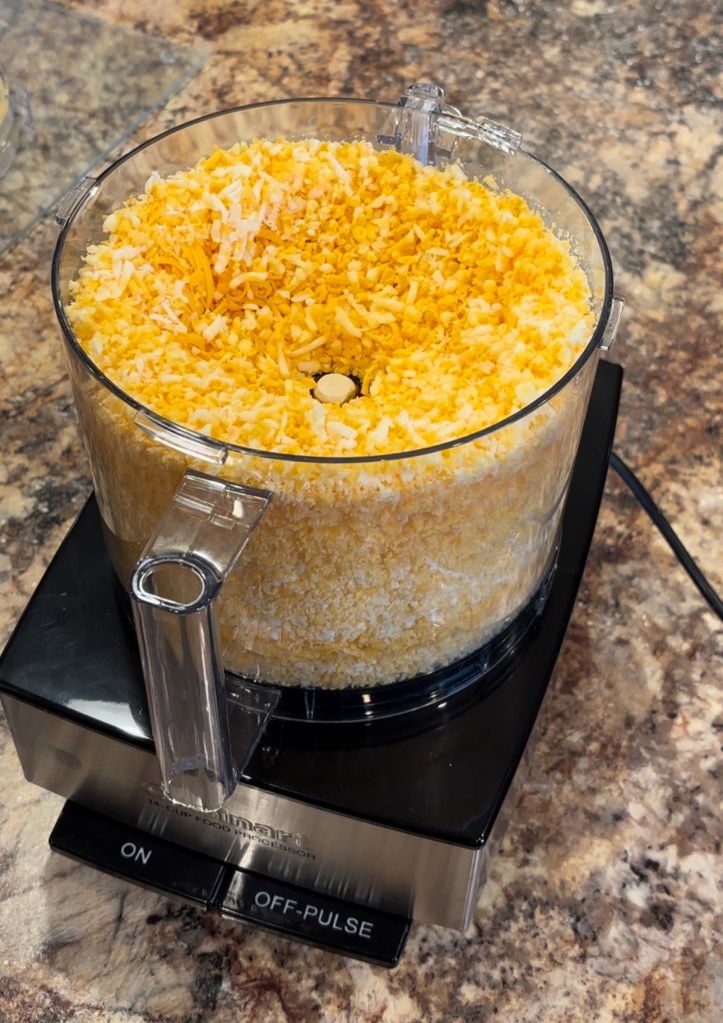
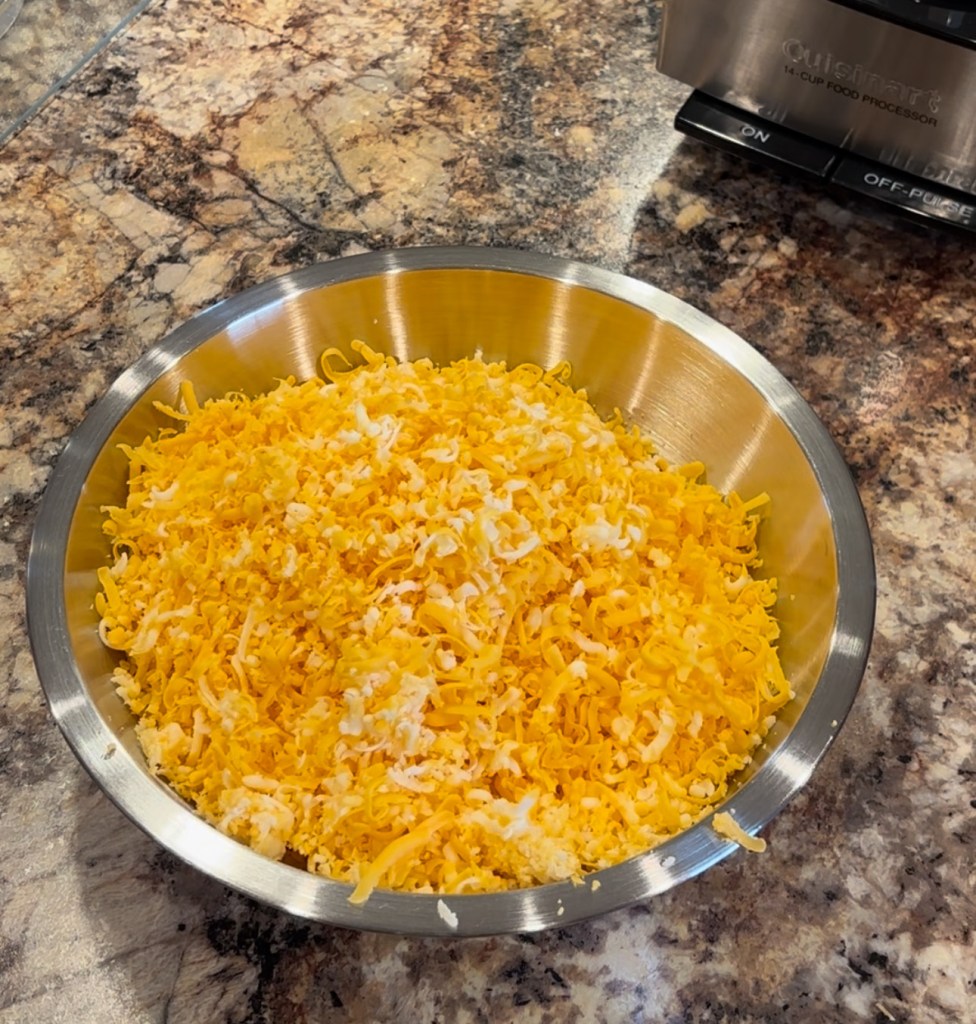
Step #3
Once all the cheese has been shredded through the processor, remove the lid and pour the cheese into a stainless steel bowl for mixing. Add 1-2 tablespoons of cornstarch and mix well with a silicone spoon. The cornstarch helps keep the cheese from sticking and is safe to eat without baking like flour. Be careful not to add too little or too much cornstarch to the mix. Too little will cause the cheese to clump and too much will cause it to be powdery.
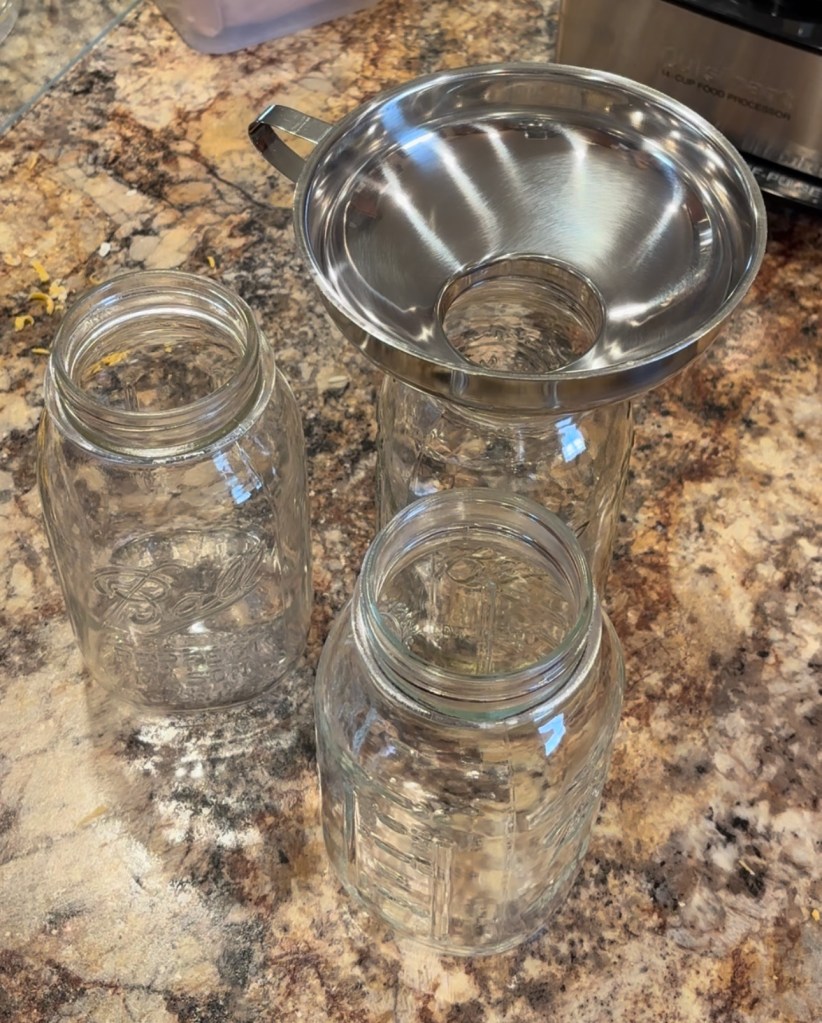
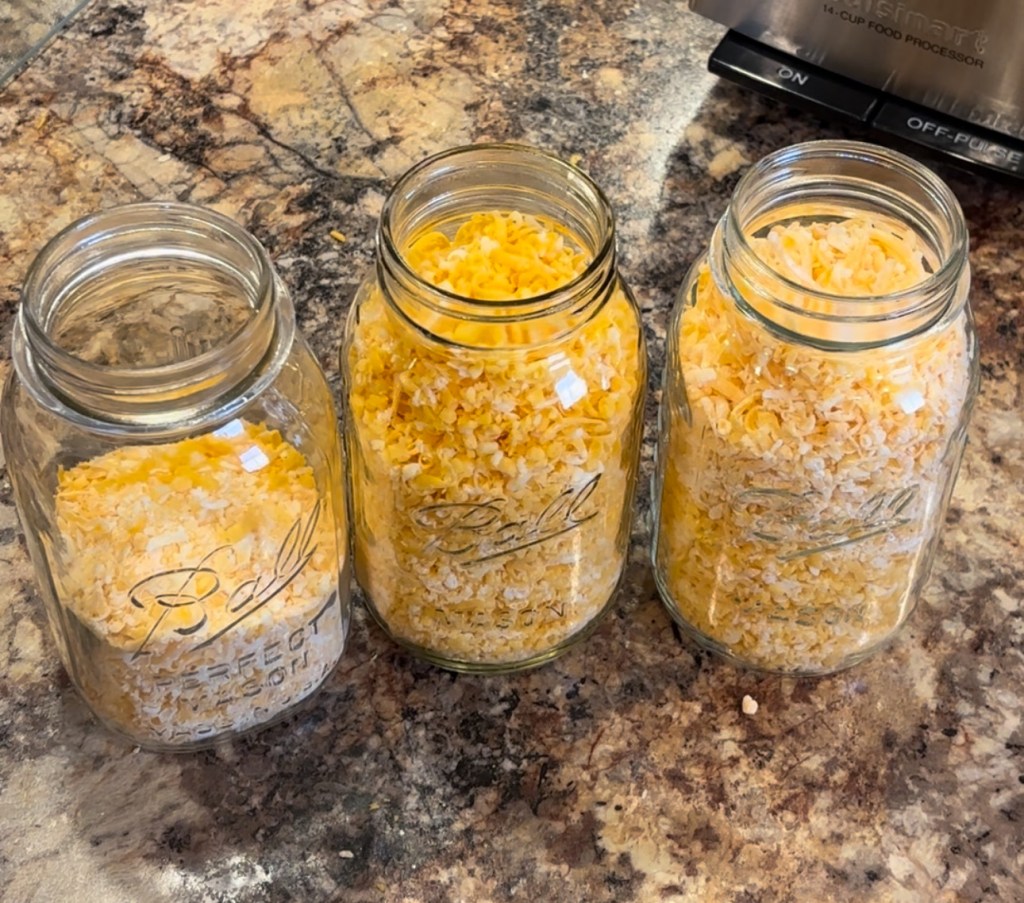
Step #4
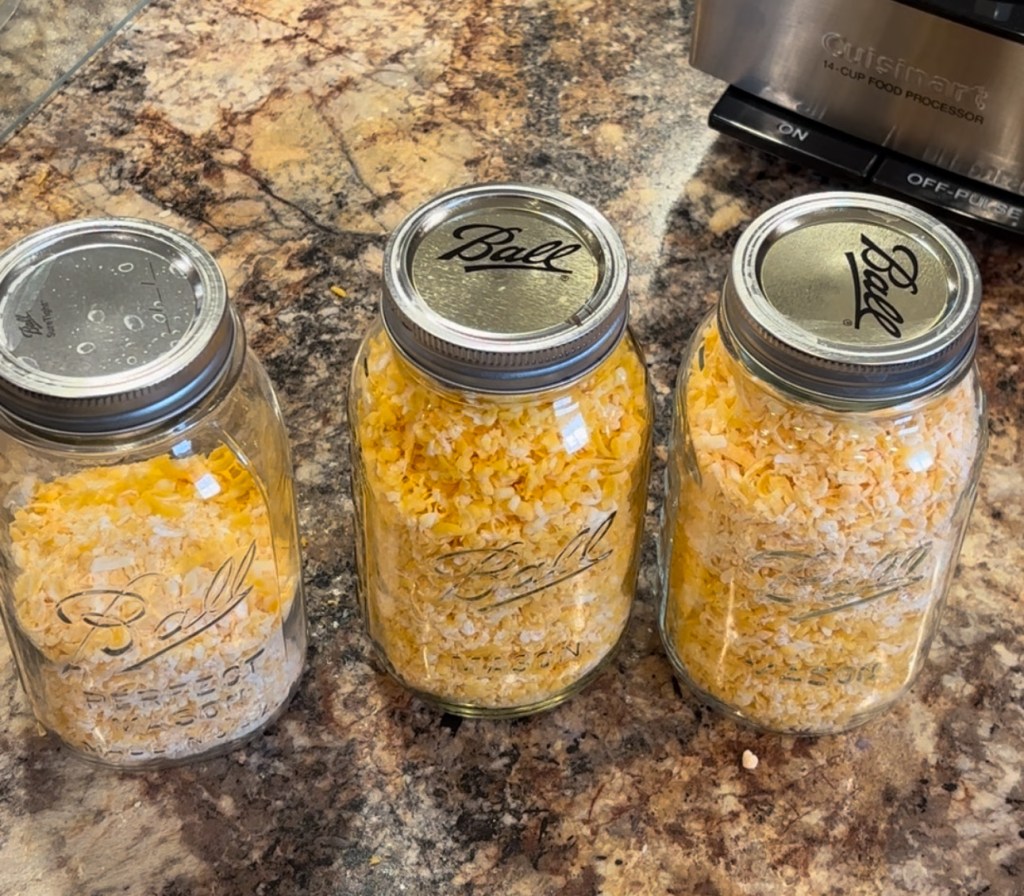
The last step is to pour the shredded cheese into an airtight container for storage. I prefer using these glass jars for storage. They are versatile and can be used for almost anything. Using a stainless steel canning funnel like this one, really helps cut down on the mess.
That’s it! Making shredded cheese at home is a simple, cost-effective way to enjoy fresher, better-tasting cheese without unnecessary additives. Whether you’re looking to avoid anti-caking agents, enhance your cooking with superior meltability, or just get the most out of a block of cheese, shredding it yourself is well worth the minimal effort. So next time you reach for a bag of pre-shredded cheese, consider grabbing a grater instead—you’ll taste the difference!
#HomemadeCheese #ShreddedCheese #DIYCheese #FreshCheese #CheeseLover #FoodHacks #KitchenTips #HealthyEating #CookFromScratch #BetterThanStoreBought


Leave a comment